


How to dry pump parts properly and keep them safe to use


Air-dry pump parts on a clean rack, not a cloth towel; that stays the default for every component that touches milk or fluid. Only use a dishwasher’s heated-dry or sanitise cycle for parts your manufacturer explicitly marks dishwasher-safe. Three rules matter most:
- Never reattach tubing, valves, or seals while they’re still damp
- Clear condensation from tubing before storing it
- Never submerge or soak motors and electronics; wipe them with a damp cloth and let them air-dry fully in the open
Get these right and everything else in this guide is refinement, not correction.
Key Takeaways
Proper drying prevents microbial growth, protects vacuum performance, and avoids the electrical damage that improper moisture exposure can cause.
| Point | Details |
|---|---|
| Air-dry as default | Use a clean rack or paper towel, never cloth, for nearly every pump part after washing. |
| Reserve dishwasher for approved parts | Only use heated-dry or sanitise cycles on parts your manufacturer marks dishwasher-safe. |
| Never rush tubing | Run the pump briefly to clear condensation, then hang tubing fully dry before reconnecting. |
| Watch for wear signals | Cracks, discolouration, weak suction, or leaks mean it’s time to replace, not just clean. |
| Keep spares on hand | Wren’s spare parts range covers valves, membranes, and motors so a worn part never sidelines your pump. |
Table of Contents
- Why proper drying matters for hygiene and pump performance
- What are the safest ways to dry pump parts?
- How do you dry valves, membranes, tubing and motors?
- What equipment helps you dry pump parts properly?
- When should you replace pump parts instead of just drying them?
- Where can you find genuine guidance and replacement parts?
- What actually matters most in pump maintenance?
- Keep your pump running with genuine Wren spare parts
- Sources
Why proper drying matters for hygiene and pump performance
Residual moisture is where the real trouble starts. Trapped water in valves, membranes, or tubing gives bacteria and mould exactly what they need to establish themselves, and that risk sits directly against any fluid the pump handles next. The FDA advises washing every part that contacts fluid after each use and air-drying it on a clean surface, specifically warning against cloth towels because they transfer germs rather than removing them.
Damp components also hurt performance before they become a hygiene problem. A membrane that hasn’t fully dried can warp slightly, weakening the seal it needs to hold vacuum, and a valve with lingering moisture may stick or lose responsiveness. On motors and electrical housings, moisture is a different kind of risk entirely: it can corrode contacts, trip internal protection, and void a manufacturer’s warranty outright.
What are the safest ways to dry pump parts?
Not every part needs the same treatment, and picking the wrong method is how components get damaged or recontaminated. Work through these in order of what’s actually appropriate for the part in front of you.
- Air-dry on a rack. This is the default for nearly everything. Assemble washed parts on a dedicated drying rack or a clean paper towel with space between each piece so air can move freely. Never stack wet parts together.
- Dishwasher, only when marked safe. If your manufacturer lists a part as dishwasher-safe, run it on a hot-water cycle with heated-dry or sanitise selected. This step alone can remove the need for a separate sanitisation stage, since heated-dry and sanitise settings on dishwasher-safe items already meet that requirement.
- Steam bags or boiling, for heat-safe parts only. Boiling for five minutes or using a steam bag sanitises effectively, but confirm the part is rated for that heat first. Sanitising this way is particularly recommended for equipment used with infants under two months, premature babies, or immunocompromised infants. Follow with a full air-dry, never storage straight from the steam.
- Tubing, cleared by running the pump. If small water droplets appear inside tubing after use, run the pump on low for a few minutes to purge the condensation, then hang the tubing to finish drying. Tubing rarely needs washing unless milk or fluid has actually entered it.
Pro Tip: Hang tubing in a loop rather than laying it flat. Flat coils trap condensation at low points, and you’ll find yourself running the pump again the next day to clear droplets that never actually left.
For a fuller walkthrough of the cleaning stage before you get to drying, Wren’s guide to cleaning pump parts covers the wash sequence in detail.
How do you dry valves, membranes, tubing and motors?
Component-level drying isn’t one procedure. Each part behaves differently once it’s wet, and treating them all the same is where damage or lingering contamination creeps in.
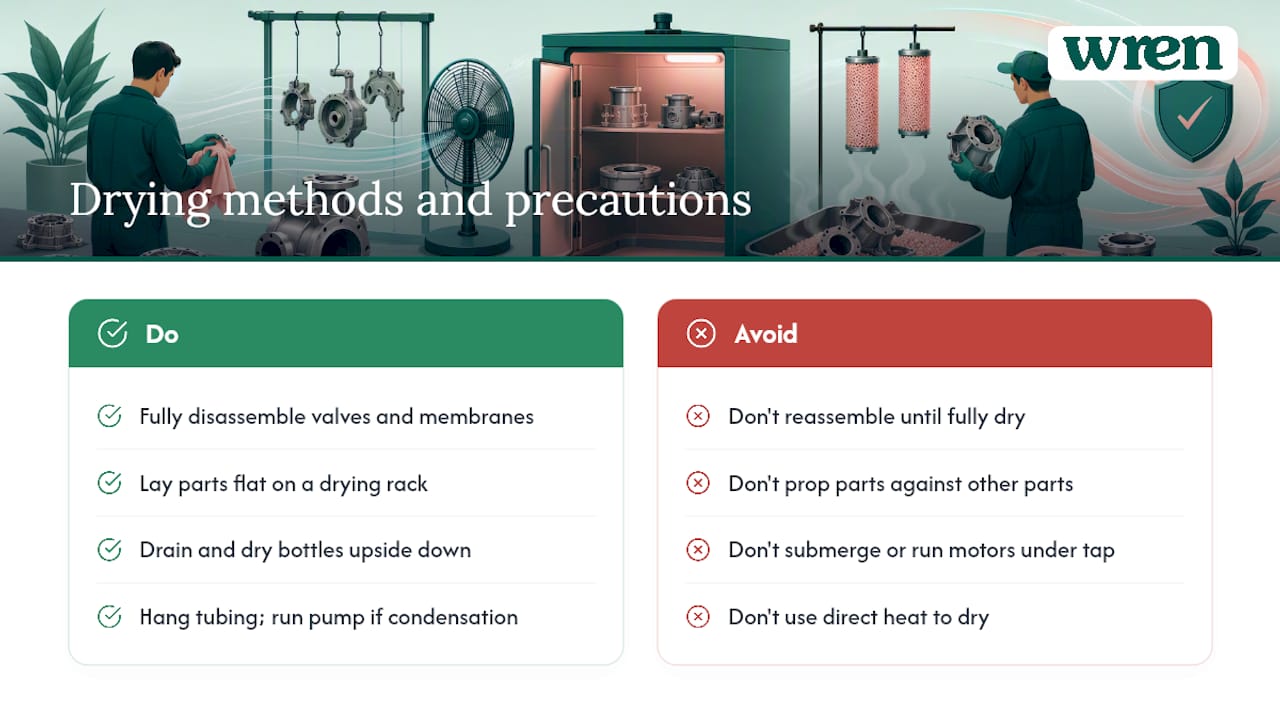
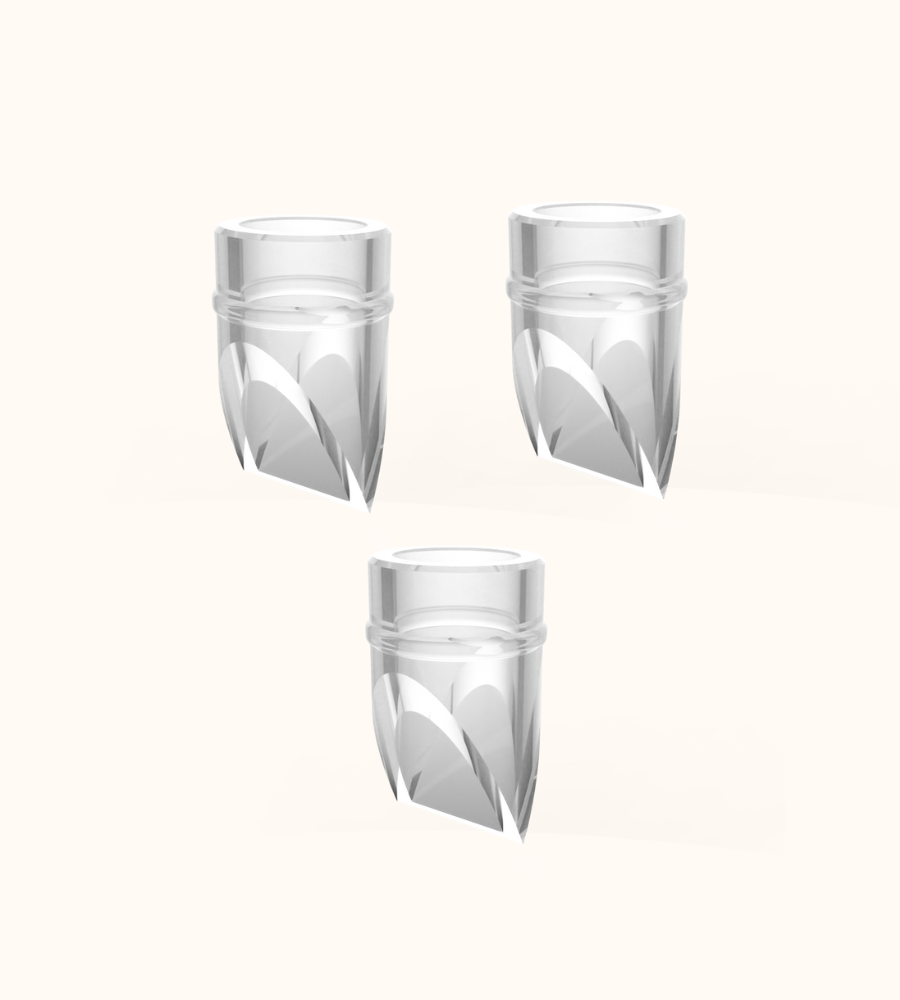
Valves and membranes. Fully disassemble these before washing, rinse thoroughly, and inspect each one for tears or warping while it’s still visible under good light. Lay them flat on a rack rather than propping them against other parts, and let them dry completely before reassembly. A membrane that goes back on even slightly damp can distort under vacuum pressure.
Bottles and collection containers. Drain thoroughly, rinse, then dry upside down on the rack rather than right-side up. Upright bottles pool residual water at the base, and that pooling is exactly the kind of low-visibility dampness that gets missed before storage.
Tubing. As covered above, run the pump briefly if condensation appears, then hang the tubing rather than coiling it flat. Don’t reconnect tubing to any other component until it’s completely dry inside, not just dry to the touch on the outside.
Motors and electronic housings. Wipe the exterior with a damp (not wet) cloth and leave the unit open to the air. Never submerge a motor, run it under a tap, or place it near direct heat to speed things up. Heat can warp housings and stress internal components in ways that aren’t obvious until the pump starts underperforming weeks later.
What equipment helps you dry pump parts properly?
A few dedicated tools make consistent drying far easier than improvising with kitchen items. A vertical drying tree or rack with a drip tray underneath keeps every part elevated, spaced, and clear of standing water, which is the single biggest upgrade over drying flat on a countertop.
- Reserve one basin and bottle brush purely for pump parts, separate from general dishwashing, to avoid cross-contamination
- Use a dishwasher’s heated-dry or sanitise setting for dishwasher-safe parts, which removes the need for a separate sanitise step entirely
- Keep a portable steam bag on hand for fast sanitisation ahead of air-drying, particularly useful when you’re away from a dishwasher
- Choose a rack with enough vertical clearance to hang tubing rather than coiling it
None of this needs to be elaborate. A rack that spaces parts and lets air circulate does most of the work; everything else is a convenience layer on top.
When should you replace pump parts instead of just drying them?
Drying only helps if the part underneath is still sound. Watch for cracks, persistent discolouration that cleaning won’t shift, a valve that’s lost its original shape, noticeably weaker suction, or any fluid leak around a seal.
- Valves and membranes wear fastest and deserve inspection at every clean, not just occasionally
- Bottles, shields, and housings degrade more slowly but still need a visual check periodically
- If sanitisation repeatedly fails to clear odour or residue from a part, that’s a replacement signal, not a cleaning problem
Manufacturer repair documentation for mechanical pumps typically lists specific replaceable items, seals, O-rings, valves, by part number, and recommends keeping repair kits on hand rather than waiting for a failure to force the issue.
Where can you find genuine guidance and replacement parts?
Manufacturer instructions exist for a reason: they’re specific to the tolerances and materials of that exact pump. Wren’s own cleaning and sterilising guide walks through product-specific steps that go beyond generic advice, and it’s worth reading alongside the step-by-step cleaning guide referenced earlier.
- Consult your pump’s own manual before assuming a part is dishwasher-safe or heat-tolerant
- Keep a spare valve and membrane set on hand so a worn part never takes a pump out of service
- Check the spare parts range when a component shows wear rather than waiting for full failure
- Treat manufacturer sanitisation guidance as the final word over general household advice
What actually matters most in pump maintenance?
Most of the advice circulating on pump care focuses heavily on cleaning solutions, which detergent, which sanitising tablet, and barely mentions drying at all. That’s backwards. The CDC’s own guidance converges with the FDA’s on a simpler point: clean promptly, air-dry fully on a clean surface, and sanitise only when it’s actually warranted. Drying is where most of the ongoing risk lives, not the wash step.
Technicians working with mechanical or industrial-style pumps often get this right instinctively, because a damp seal failing is an obvious, visible problem. Individual users tend to underestimate it because a slightly damp valve doesn’t announce itself the way a leak does. It just quietly reduces suction or, worse, lets moisture sit against a surface until something grows there.
If you take one thing from this guide, prioritise the drying step over sourcing the “best” cleaning product. Get the drying right and a modest cleaning routine will still protect you. Get it wrong and no amount of sanitiser fixes what happens next.
— Paul
Keep your pump running with genuine Wren spare parts
Worn valves and membranes are the most common reason pump performance drops, and they’re also the cheapest, fastest fix available before you’d ever consider replacing a whole unit. Wren’s spare parts range covers exactly the components this guide has walked through, including the Main Pump Motor for motor-level servicing, spare components for the Hands-Free Electric Breast Pump, and the Breast Shield 25mm (Flange) for a proper fit as your needs change.

Keeping a spare valve and membrane set in reach means a worn part never takes your pump out of action, and it costs far less than replacing the entire unit. Prices for individual spares are generally affordable, a small outlay compared to the downtime of a pump that’s lost suction mid-week. Browse the spare parts landing page now and check which components fit your model before the next feed.
Sources
- Cleaning a breast pump | FDA
- How to clean and sanitise breast pumps | CDC
- 309577S, Displacement Pump, Repair, Parts, English — Graco


