


How to build a freezer stash without the stress


A modest freezer stash is one built slowly, not stockpiled overnight. Most mothers only need 2 to 5 days’ worth of milk, roughly 36 to 80 ounces (1,000 to 2,400 ml), whether you’re covering an occasional night out, easing back to work, or keeping emergency backup on hand.
Start tonight with one short pumping session after your baby’s first morning feed, when supply is naturally highest.
- Cool the milk in the fridge before it goes into the freezer.
- Label every bag with the date and volume, then use the oldest milk first.
Pro Tip: You don’t need a chest freezer full of milk to feel prepared. A handful of well-labelled bags covering a few days is plenty for most situations.
Key Takeaways
Building a modest, well-labelled freezer stash through short daily sessions is safer and more sustainable than aggressive early pumping.
| Point | Details |
|---|---|
| Start at 4 to 6 weeks | Wait for supply to stabilise before adding dedicated stash sessions. |
| Aim for 2 to 5 days | Target roughly 36 to 80 ounces (1,000 to 2,400 ml) rather than a full freezer. |
| Pump once daily to start | Add a short 10 to 15 minute session after the morning feed and build slowly. |
| Store and rotate properly | Cool before freezing, label with date and volume, and use oldest milk first. |
| Ease the routine with My-wren | Hands-free pumps, storage bags, and the nipple bubble simplify each step. |
This article is general information, not a substitute for advice from a qualified doctor. Consult a qualified healthcare professional about your own circumstances before acting on anything here.
Table of Contents
- When should you start building a freezer stash?
- How much milk should you actually aim for?
- What’s the best time and method to pump?
- How do you store and thaw milk safely?
- How should you organise a freezer stash?
- How do you avoid oversupply while stash-building?
- What schedule should you follow this week?
- Making stash-building easier in practice
- Build your stash the easier way with My-wren
- Sources
When should you start building a freezer stash?
Most lactation professionals suggest waiting until around 4 to 6 weeks postpartum before adding dedicated stash-building sessions. Supply is still calibrating to your baby’s needs in those early weeks, and pumping on top of full feeds can trigger oversupply, engorgement, or an erratic milk pattern that takes weeks to settle.
If you’re working towards a return-to-work date, count backwards. Adding roughly one extra ounce a day builds close to 30 ounces a month, so starting six to eight weeks ahead comfortably covers a typical work-return target without any rush.
- Exclusive pumpers or mothers managing a low supply may need to start earlier, ideally with guidance from an IBCLC.
- If you’re combination feeding or have a healthy, established supply, there’s no benefit to starting before the 4 to 6 week mark.
How much milk should you actually aim for?
Forget the idea of filling a chest freezer. For occasional outings, 2 to 5 days’ worth of milk covers almost every real-world scenario, including a return to part-time work or a short trip away.
Work it out simply: multiply the hours you’ll be away by your baby’s typical feed volume. A baby taking 3 to 4 ounces every 3 hours during an 8-hour workday needs roughly 8 to 12 ounces banked for that day alone.
- Occasional outings: 10 to 20 ounces is usually enough.
- Short work returns: 36 to 80 ounces, built over several weeks.
- Longer transitions: extend gradually rather than pumping aggressively upfront.
A bigger stash isn’t a safer stash. Overstocking often means wasted milk and unnecessary pumping strain.
What’s the best time and method to pump?
The most efficient extra session is either first thing in the morning, when prolactin levels peak, or 15 to 20 minutes after your baby’s first feed of the day, when there’s still milk to collect without disrupting the next feed.
- Pick one time of day and stick with it for a week before adding anything else.
- Try a passive collector or a wearable pump to catch letdown milk without extra effort or a dedicated pumping break.
- Increase gradually. If your body tolerates the first session well after a week, consider adding a short second one.
Small, consistent sessions of 5 to 15 minutes build a stash far more sustainably than long, infrequent pumping marathons. Power pumping (short bursts mimicking cluster feeding) can boost supply when you’re genuinely trying to increase output, but it isn’t necessary for most mothers simply building a backup stash.
Pro Tip: A hands-free double electric pump means you can add that one extra session while making breakfast or scrolling your phone, rather than carving out separate time you don’t have.
How do you store and thaw milk safely?
Cool freshly expressed milk in the fridge before it goes into the freezer, and leave a little headspace in the bag since milk expands as it freezes. Lay bags flat until solid. They stack like files afterwards and thaw far faster than a frozen block.
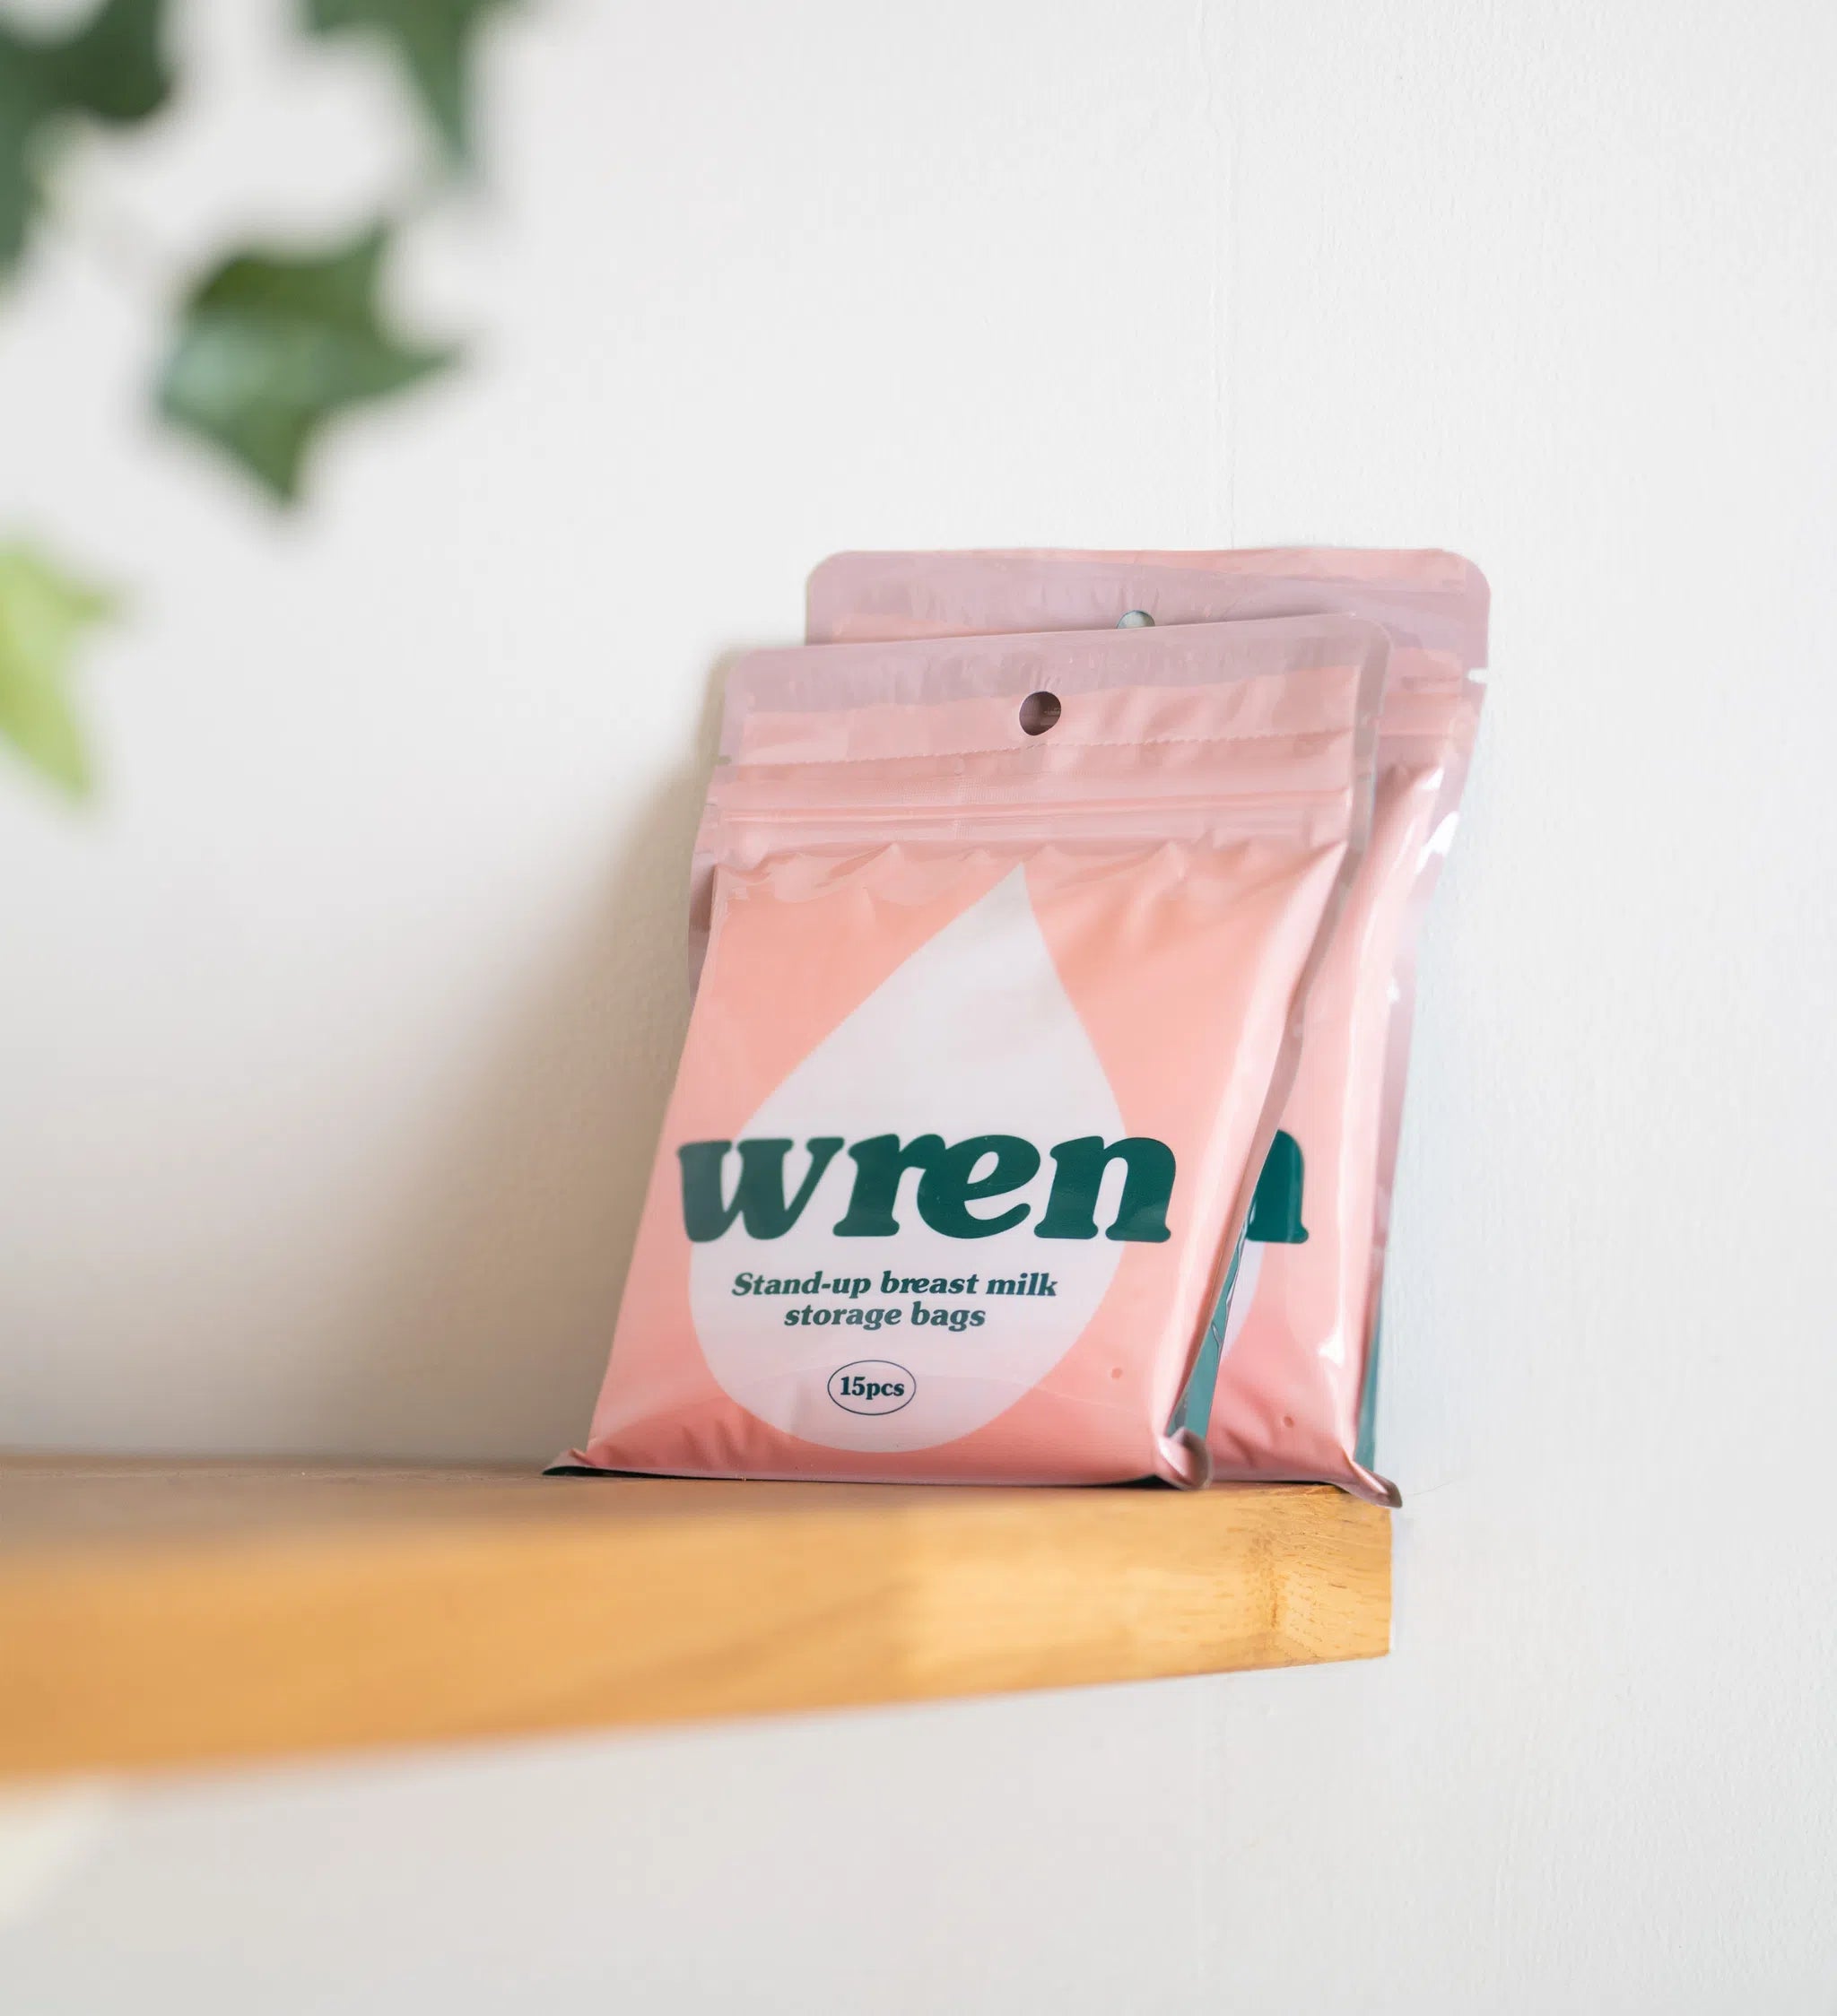
Every bag needs a date and volume written clearly, and older milk should always be used before newer batches, a simple first-in, first-out approach that prevents waste. Freezing in portions of 50 to 120 ml keeps waste low, since you’re rarely stuck defrosting more than your baby will finish.
On timing: milk stays at peak quality for around 6 months in a standard freezer attached to a fridge, and up to 12 months in a deep freezer, though 6 months is still the safer target for best quality. Thaw overnight in the fridge or under cool running water, never in the microwave, which destroys nutrients unevenly.
Quality storage bags with double-sealed zips and clear labelling panels make this whole process quicker, particularly when you’re managing it half-asleep at 11pm.
How should you organise a freezer stash?
Freeze bags flat, then stack them upright like folders once solid, organised by week so the oldest milk sits at the front. Keep milk towards the back of the freezer, away from the door, where temperature swings happen every time it opens.
- Portion by typical feed size (50 to 90 ml for newborns, more for older babies) to avoid thawing more than’s needed.
- A simple paper grid taped inside the freezer door or a note on your phone works just as well as a dedicated app for tracking dates and volumes.
- Use a shallow bin or tray to group bags by week, making rotation almost automatic.
How do you avoid oversupply while stash-building?
Pumping too enthusiastically, too early, is the most common cause of engorgement, clogged ducts, and mastitis. Your body reads extra sessions as a signal to make more milk, and a sudden surplus can quickly tip into pain rather than progress.
Watch for breast pain, redness, fever, or a hard lump that doesn’t ease with feeding. These warrant a call to an IBCLC or your GP promptly rather than waiting it out.
- Reduce or pause extra sessions at the first sign of discomfort.
- Gentle massage and warm compresses before feeding or pumping can ease early blockages.
Pro Tip: If your stash feels like a chore rather than a routine, that’s usually the first sign to slow down, not speed up.
What schedule should you follow this week?
Pick the pace that fits your life rather than forcing a rigid plan.
- Gentle build: one extra 10 to 15 minute session daily after the morning feed, for two weeks before reassessing.
- Pre-work ramp: two short sessions daily (morning and early afternoon) starting six to eight weeks before your return date.
- Passive-collection day: wear a nipple bubble during regular feeds on your day off to catch letdown milk with zero extra effort.
Before bed, run through a short checklist: label every bag, freeze flat, rotate the oldest milk to the front, and pack a couple of spare bags in your changing bag for outings. Exclusive pumpers should follow the newborn pumping schedule more closely from the start, while part-time returners can lean on the gentle build approach for longer.
Making stash-building easier in practice
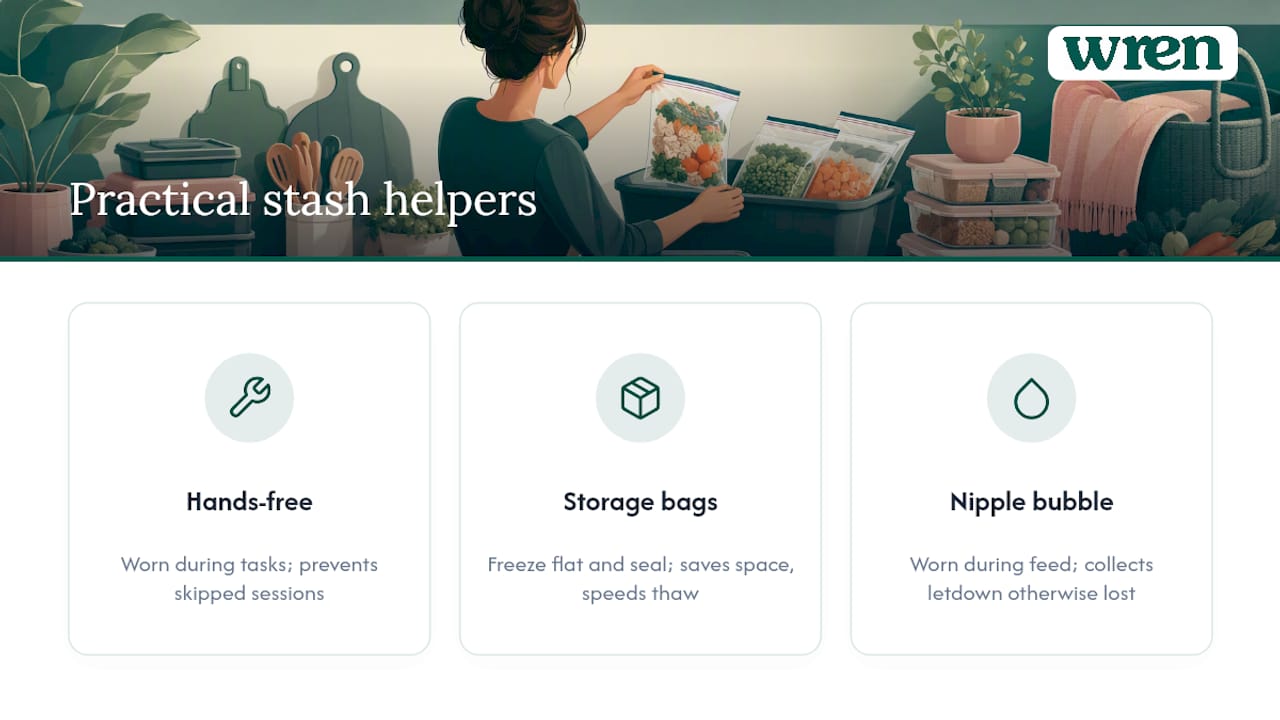
A hands-free double electric pump changes the maths on all of this. If pumping means finding twenty uninterrupted minutes, sessions get skipped. If it means clipping in while you make lunch or reply to messages, they don’t. That’s the practical difference a wearable, hands-free pump makes to consistency, which matters more than intensity for long-term supply.
Storage bags matter more than most mothers expect too. Bags that freeze flat and seal properly save freezer space and cut thawing time, and clear labelling panels make first-in, first-out rotation genuinely effortless rather than aspirational.
The nipple bubble earns its place as a passive collector, worn during a regular feed to catch letdown from the other side. No extra time, no extra session, just milk you’d otherwise lose into a breast pad…
Build your stash the easier way with My-wren
My-wren designs its pumps and storage products around exactly the plan outlined above: small, consistent sessions that fit around real life, not a rigid pumping schedule. A hands-free double electric pump lets you add that one extra morning session without losing twenty minutes to sitting still, while properly sealed storage bags make labelling, freezing flat, and rotating stock straightforward rather than fiddly.
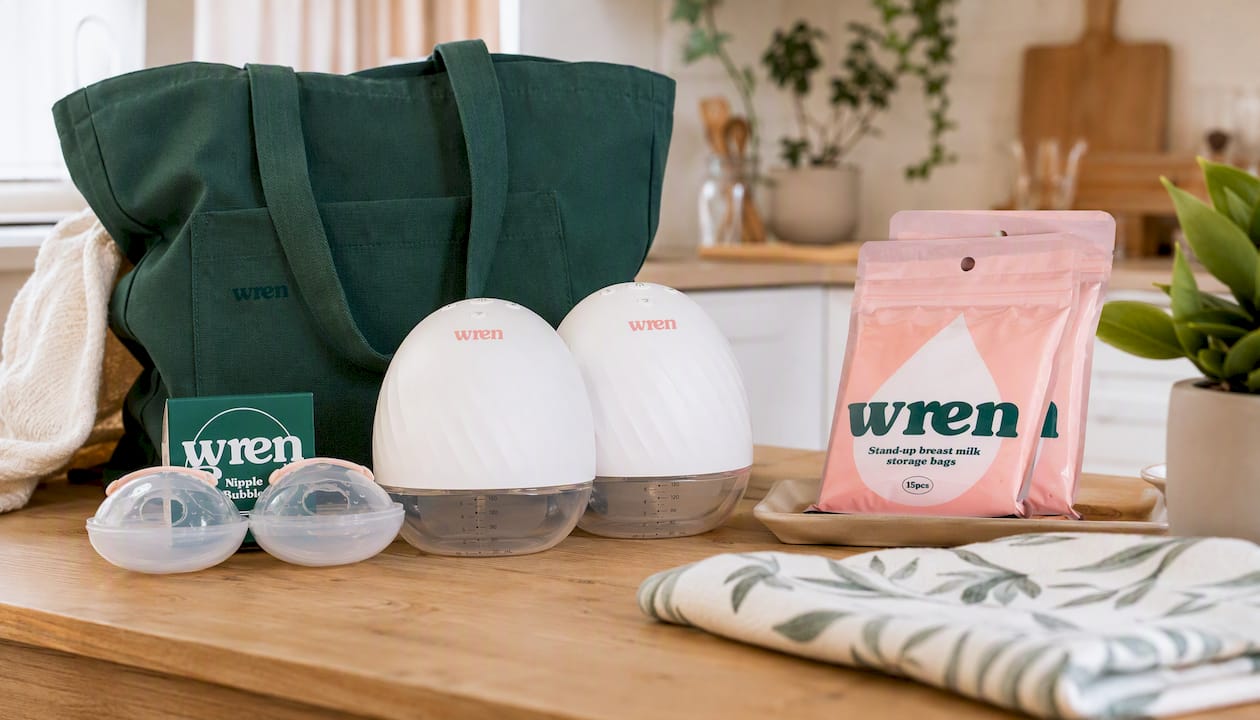
For passive collection on days you’d rather not pump at all, the nipple bubble catches letdown during a normal feed with its own storage case for easy transfer to the freezer. If postpartum skincare is also on your radar, gentle, chemical-free products are worth a look too. Browse the full range at My-wren and pick the pump and storage set that fits your routine, not the other way round.
Sources
- Do I need to pump a milk stash? | Australian Breastfeeding Association
- How to Build up a Breast Milk Freezer Stash Without Stress - Breastfeeding Counselor
- Thebreastfeedingmama


