


Milk storage safety: times, temperatures and safe handling


Follow these rules and expressed milk stays safe to feed: room temperature, use within 4 hours; fridge, use within a few days depending on how reliably cold it runs; freezer: best quality up to 6 months and safe up to 12 months if kept deep frozen. Wash your hands before expressing, clean pump parts after every session, and store containers at the back of the fridge or freezer, never in the door. Never microwave breast milk. Label every bottle or bag with the date, and always feed the oldest milk first.
- Room temperature (up to 25°C): 4 hours maximum
- Fridge (≤4°C): a few days
- Freezer (≤−18°C): 6 months for best quality, up to 12 months acceptable
Pro Tip: If you’re not certain how cold your fridge actually runs, treat every bottle as a short-term refrigerated bottle. It costs you nothing and removes the guesswork entirely.
Key takeaways
Safe milk storage comes down to three fixed limits: 4 hours at room temperature, 3 to 4 days refrigerated, and up to 6 months frozen for best quality.
| Point | Details |
|---|---|
| Follow the conservative window | Use fridge milk within 3 days if you’re unsure of the exact temperature, 4 days if it’s verified at ≤4°C. |
| Never microwave or boil | Warm milk gently in a water bath instead to avoid hot spots and nutrient loss. |
| Label and rotate | Date every container and always feed the oldest milk first to avoid waste. |
| Treat donor milk separately | Follow the milk bank’s own printed storage instructions rather than home expressing guidance. |
| Wren pumps reduce transfers | Hands-free pumps and correctly fitted breast shields let you express straight into storage containers, cutting contamination risk. |
Table of Contents
- How to express breast milk safely
- Storage times, temperatures and labelling that prevent waste
- Thawing and warming stored milk without destroying it
- Transporting expressed milk safely
- Cleaning pump parts, bottles and storage containers
- Storing milk for premature, ill or hospitalised babies
- Wren’s practical tips for storing milk with less waste
- Relactation and supplementing with a stored milk stash
- Donor milk versus your own expressed milk: what changes
- A practical note from Wren
- How Wren products support safer milk storage
- Sources
How to express breast milk safely
Most mothers settle into a rhythm of expressing every 3 to 4 hours once feeding is established, though volumes vary hugely from one session to the next and from one mother to another. Don’t judge your supply against anyone else’s numbers.
Hand expression is worth learning even if you plan to pump long term. It’s useful for relieving engorgement, collecting colostrum in the early days, or topping up after a feed.
- Wash your hands thoroughly before you start.
- Massage the breast gently towards the nipple to encourage let down.
- Place your thumb and fingers in a C-shape around the areola, then press back towards the chest wall and compress rhythmically.
- Rotate position around the breast to drain different areas.
- Collect milk directly into a clean, food-grade container.
If you’re using a pump, flange fit matters more than most new mothers realise—as explained in Why am I losing hair after pregnancy? – CRISAN Beauty, postpartum changes can affect comfort and fit. A shield that’s too tight causes friction and bruising; one that’s too loose reduces suction efficiency and can drag tissue into the tunnel painfully. Start on the lowest suction setting and build up gradually. Pain is never the goal. Where possible, pump directly into your storage container rather than a separate collection cup, since every extra transfer is another opportunity for contamination. A hands-free double pump or hands-free single pump fitted with the correct 25mm breast shield makes this single-container approach far more practical, particularly if you’re expressing while doing something else entirely.
Storage times, temperatures and labelling that prevent waste
The safety window for expressed milk depends on three things: how it was expressed, how cold your storage actually is, and how confident you are in that temperature. The CDC’s guidance states that freshly expressed milk is safe at room temperature (up to 25°C) for up to 4 hours, and in a refrigerator for up to 4 days. UK guidance from the York Hospitals NHS Foundation Trust broadly agrees, but recommends the more conservative 3 day window whenever fridge temperature is uncertain. When guidelines diverge like this, the sensible choice is always the shorter one.
That means the practical rule is simple: if you don’t know your fridge is holding ≤4°C reliably, treat stored milk as a 3-day product. If you’ve verified the temperature with a fridge thermometer and it’s consistent, you can safely stretch to 4 days.
Freezing extends things considerably. Milk kept at ≤−18°C stays at best quality for up to 6 months, and remains acceptable to feed for up to 12 months in a deep freezer, though some vitamin content diminishes over that longer stretch.
A few practical habits make this timeline easy to manage:
- Portion into 30 to 120ml amounts so you’re not defrosting more than baby needs and tipping the rest away.
- Label every container with the date expressed, and add baby’s name if it’s heading to nursery or childcare.
- Store at the back of the fridge or freezer, where temperature is most stable, never in the door.
- Leave a little headspace in bottles or bags before freezing, since milk expands as it freezes.
- If you’re pooling smaller amounts from several sessions in one day, cool each batch in the fridge first before combining, and keep the pooling window to 24 hours.
Fridge and freezer thermometers cost very little and remove almost all the guesswork here. Check yours occasionally, particularly after a power cut or a new fridge delivery, since even a couple of degrees makes a real difference to how long milk stays safe.
Thawing and warming stored milk without destroying it
Thaw frozen milk in the fridge overnight whenever you can plan ahead. It’s the gentlest method and gives you a full extra day of safe use once thawed. If you need milk sooner, stand the sealed container in a bowl of warm (not hot) water, or hold it under running warm water, gradually increasing the temperature. Never plunge frozen milk straight into boiling water and never boil the milk itself.
Once thawed, use it within 24 hours if it’s been kept in the fridge the whole time, according to guidance summarised in PMC’s research on expressed milk storage. Do not refreeze milk that has fully thawed. Once it’s been warmed to feeding temperature or left at room temperature, the window shrinks further: use it within 2 hours or discard it.
Microwaving is the one method to avoid completely. It heats unevenly, creating scalding hot spots that can burn a baby’s mouth even when the container feels only lukewarm, and it can also degrade some of the protective properties in the milk.
- Fridge thaw overnight: gentlest, gives full 24 hour window afterwards.
- Warm water bath or running warm water: faster, safe if temperature stays moderate.
- Never microwave, never boil.
- Swirl gently (don’t shake vigorously) to remix the separated fat layer that naturally rises to the top.
- Test a few drops on your wrist. It should feel neutral, not hot.
Transporting expressed milk safely
Moving between home, work and nursery is where storage safety most often slips, usually because the rules feel less clear on the move.
- Use an insulated cool bag with fully frozen ice packs, not just a chilled gel pack, for any journey longer than a short walk.
- Kept properly iced, milk stays safely below around 15°C for up to 24 hours, according to guidance from Rutgers NJAES, though transferring it to a proper fridge or freezer as soon as you arrive is always the better move.
- If there’s no fridge waiting at your destination, prioritise using the freshest milk first and keep the window as short as realistically possible.
- At work, label bottles clearly and store them at the back of the shared fridge, never on a door shelf where temperature swings most.
- Check your nursery’s own storage policy before dropping off milk. Some ask for a strict labelling format or a maximum stay time in their fridge.
Cleaning pump parts, bottles and storage containers
Every part that touches milk needs washing after each use, in hot soapy water or run through the dishwasher if the manufacturer allows it. For a healthy, full-term baby, sterilising isn’t generally required once parts are properly washed. It’s still worth it for babies born prematurely or currently unwell, since their immune defences are less established.
- Take pumps fully apart after every session; residue hides in seals and valves you can’t see.
- Rinse thoroughly, then air-dry on a clean towel or rack rather than towel-drying, which can reintroduce bacteria.
- Store dry parts somewhere covered and clean, not loose in a drawer.
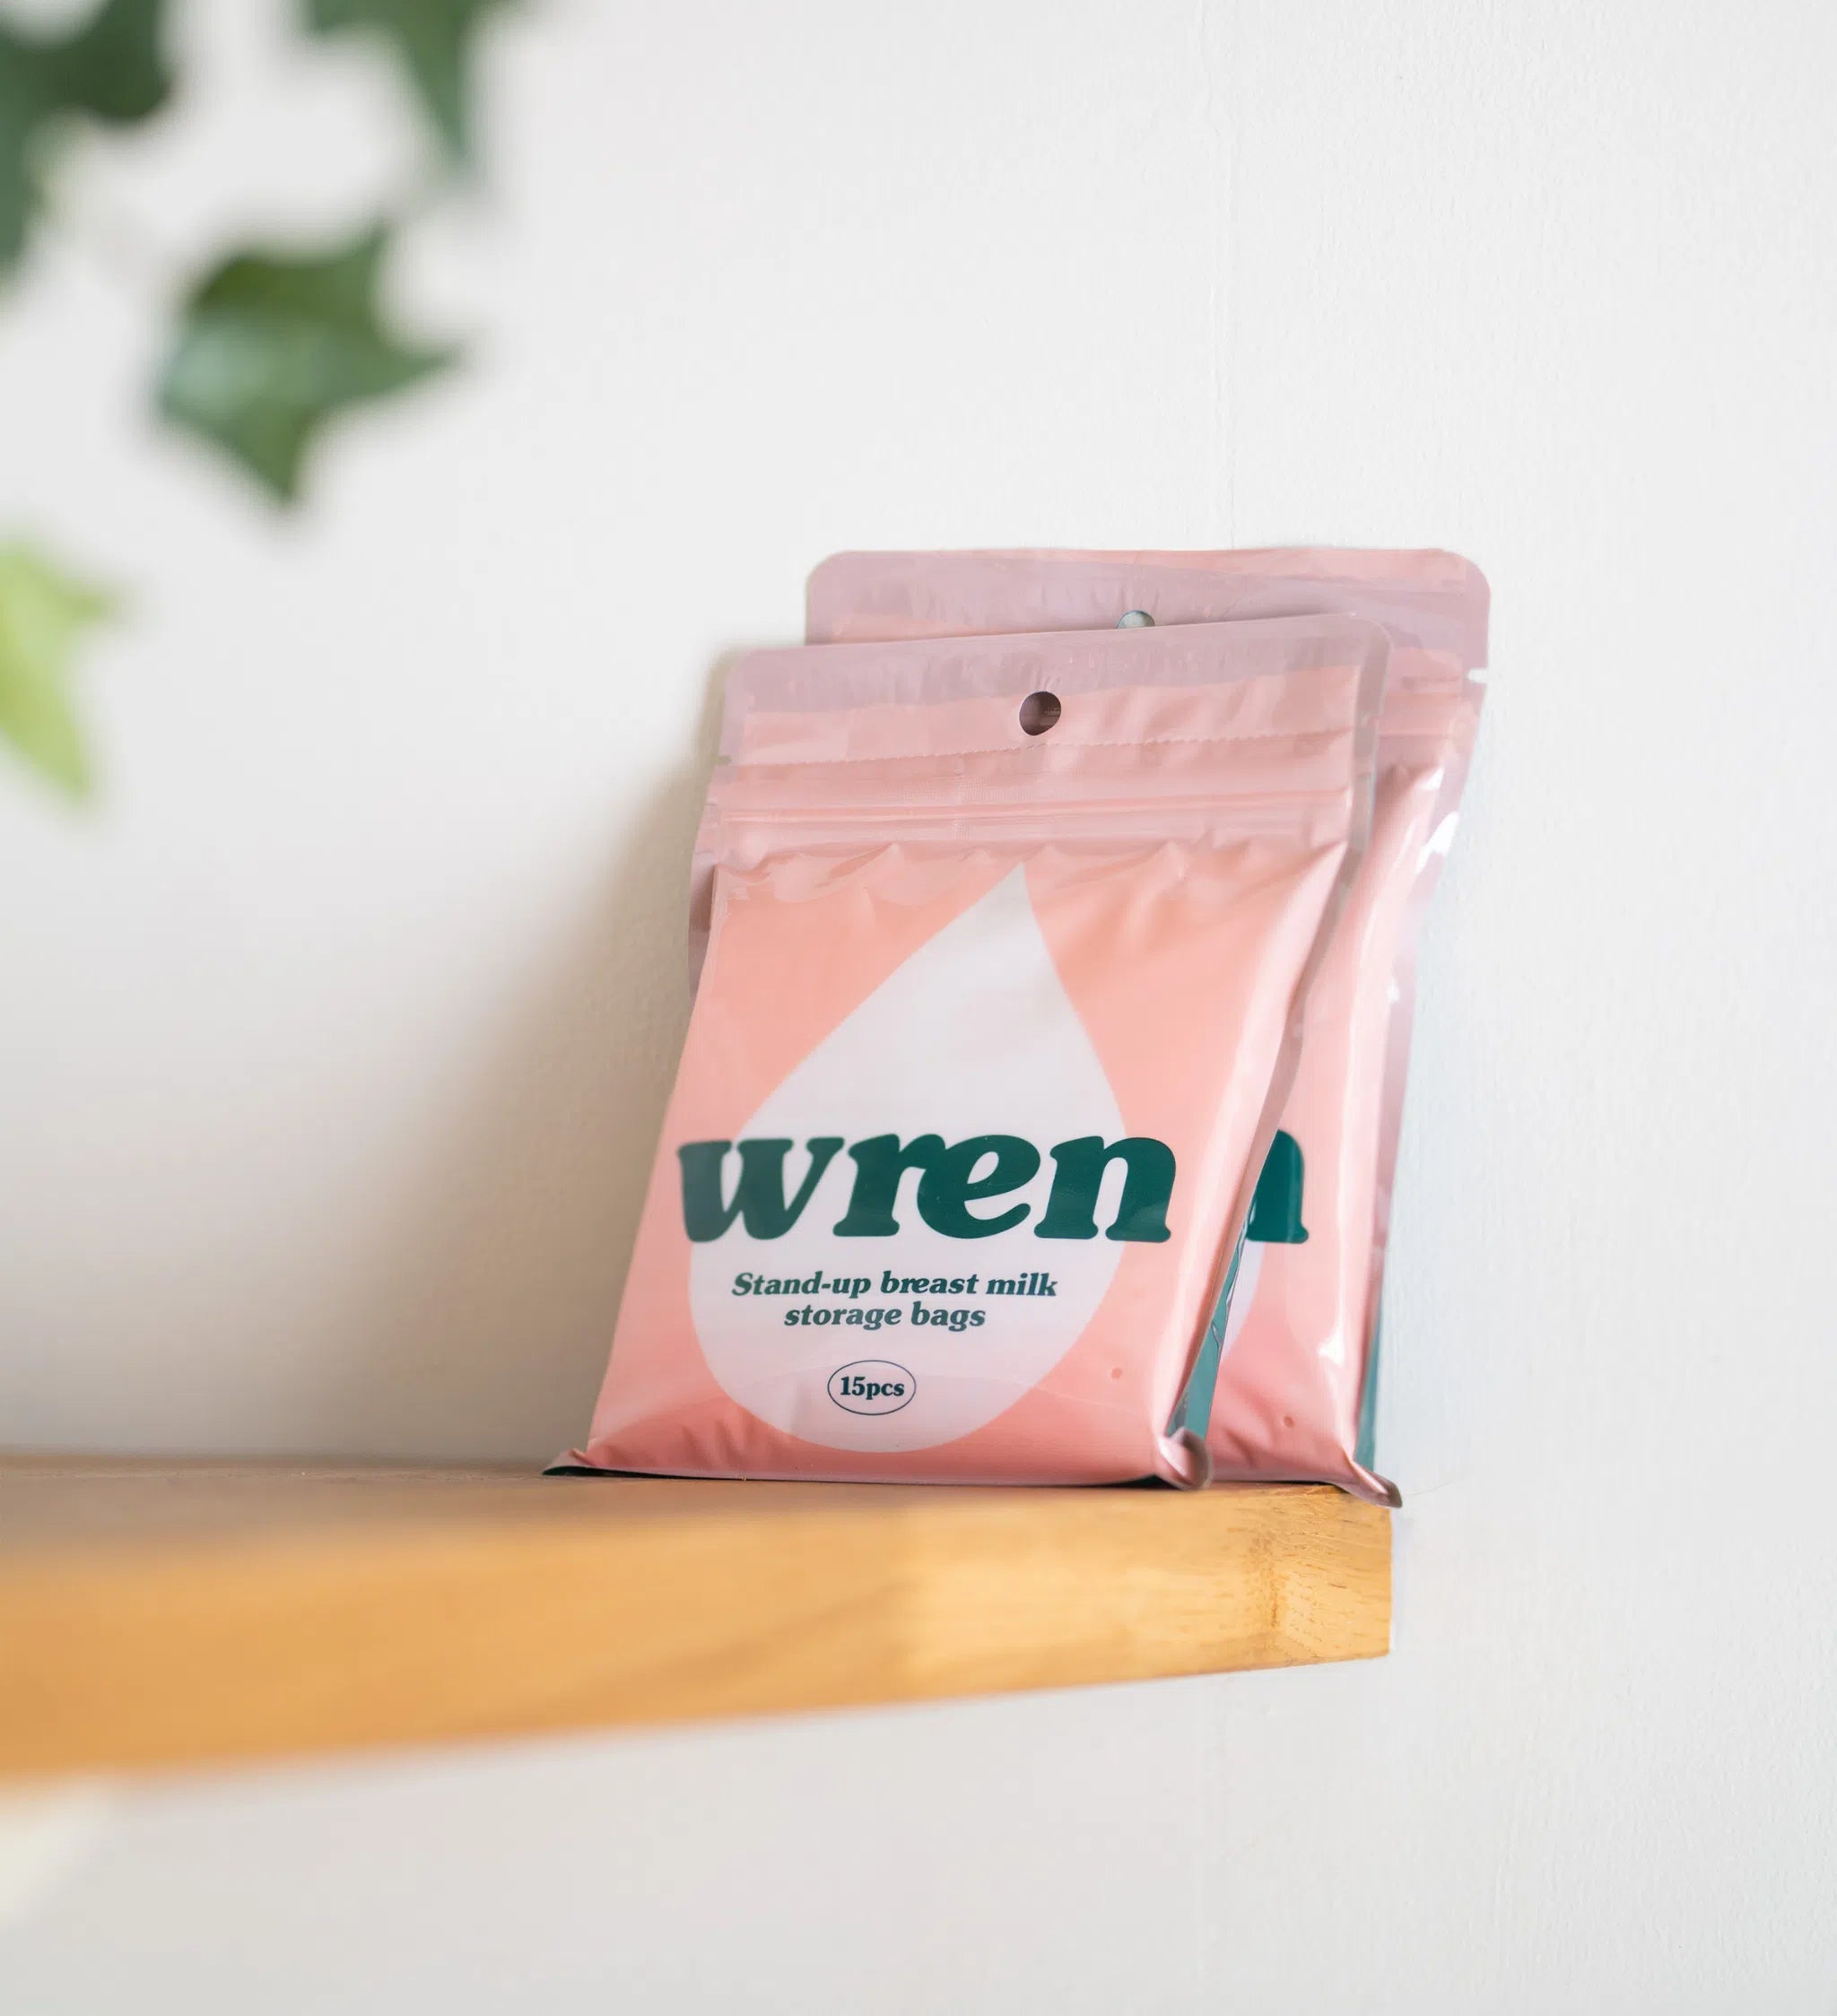
- Choose food-grade glass or BPA-free polypropylene containers, and use purpose-made milk storage bags rather than generic food bags, which aren’t designed to be leak-proof or freezer-stable, a point echoed by La Leche League International.
- Inspect pump valves and membranes regularly for cracking or discolouration, and replace them if they look worn.
Pro Tip: Keep a dedicated drying rack just for pump and bottle parts, away from your general washing-up. It sounds fussy, but it stops cross-contamination from sponges and dishcloths that see far more than milk equipment.
Storing milk for premature, ill or hospitalised babies
Standard home guidance shifts for babies in neonatal care. Premature or unwell infants have far less capacity to fight off bacteria that a healthy, full-term baby would handle without issue, so NICU teams typically apply stricter time and temperature limits than the ones covering everyday home storage. Always follow your hospital’s specific protocol over general guidance if the two differ.
- Bring milk to hospital clearly labelled with your baby’s name, the date and time it was expressed, and how it’s been stored since.
- Ask the neonatal team on arrival exactly how they want milk handed over and stored, since policies vary between units.
- Contact your midwife, health visitor or the neonatal team directly if you’re ever unsure whether milk is still safe to use for your baby’s specific situation.
Wren’s practical tips for storing milk with less waste
A little testing early on saves a lot of wasted milk later. Freeze one small sample first and check it after thawing. Some milk develops a soapy smell from natural lipase activity. It’s not unsafe, but many babies refuse it, and the AAP notes that briefly scalding milk before freezing can reduce this for mothers whose milk reacts this way.
- Start with small 30 to 60ml portions until you know how much your baby actually takes from a bottle.
- Freeze bags flat; they stack like files and thaw faster than bulky bottles.
- A correctly fitted flange and a genuinely hands-free pump cut down on spills and transfers, since you’re pouring straight from breast to storage container.
- For deeper how-to detail, our guide to exclusive pumping and our piece on choosing storage bags both walk through this in more depth.
Relactation and supplementing with a stored milk stash
Relactation, rebuilding a milk supply after a gap in breastfeeding, or supplementing a partial supply with stored milk, both rely on the same storage rules as any other expressed milk. There’s no separate safety standard for milk that’s being used to top up formula feeds or bridge a supply gap; the same room, fridge and freezer windows apply throughout.
What changes is the planning. If you’re building a supply back up gradually, you’ll likely be expressing smaller, more frequent amounts, which makes smaller portion sizes even more useful, since you avoid thawing more than a single feed’s worth. Keep a clear running log of what’s been expressed and when, particularly if you’re combining relactated milk with an existing frozen stash, so the oldest milk still gets used first.
If you’re supplementing because your own supply hasn’t fully established yet, be extra careful about oldest-first rotation. It’s tempting to reach for whatever’s at the front of the freezer, but a clearly dated system, even something as simple as writing the date in thick marker facing outward, prevents good milk quietly expiring at the back while newer bags get used first.
Relactation can take patience and doesn’t always follow a predictable timeline. If you’re finding it difficult to build supply, a health visitor, midwife or a lactation consultant can offer guidance tailored to your specific situation rather than generic timelines.
Donor milk versus your own expressed milk: what changes
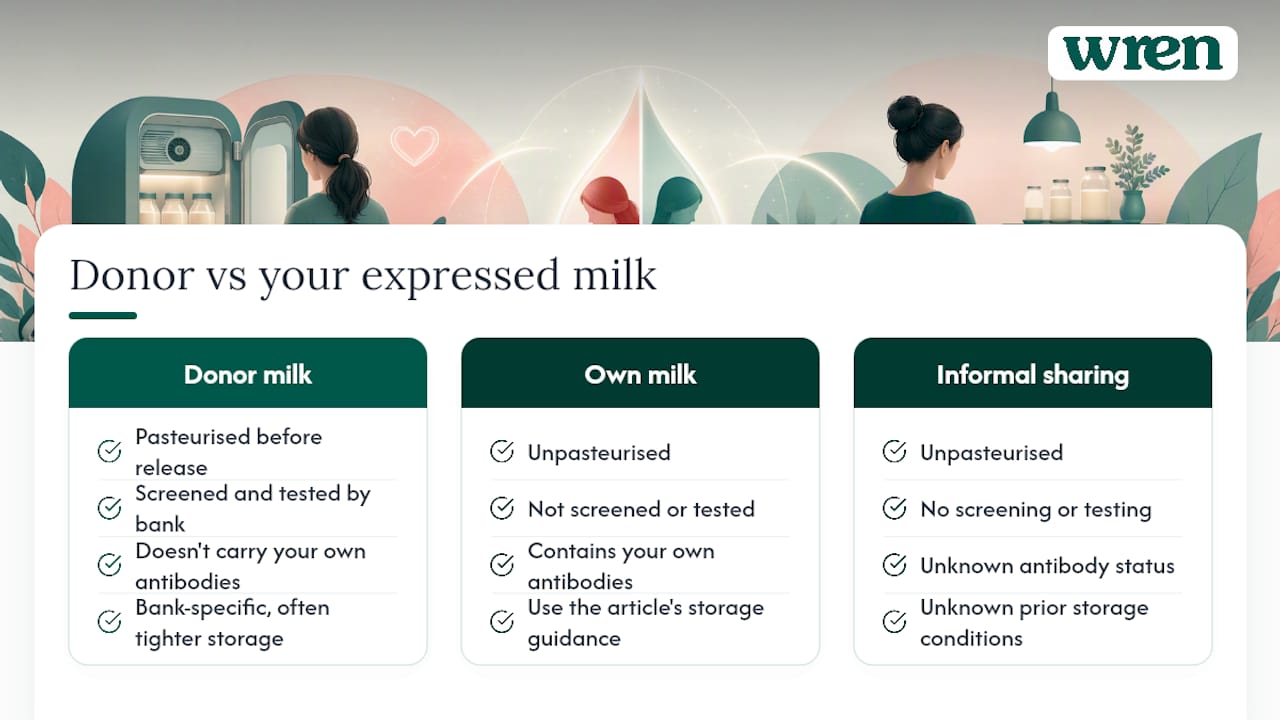
Donor human milk follows a considerably stricter safety pathway than the milk you express yourself, and it’s worth understanding why before you use it.
Milk from a recognised milk bank is pasteurised, screened for infection markers, and tested before release, which changes its handling profile entirely. Pasteurised donor milk generally carries its own specific storage instructions from the bank that supplied it, often with tighter fridge and freezer windows than the guidance in this piece, because pasteurisation and screening protocols are validated against particular storage conditions. Always follow the instructions printed on the container rather than defaulting to the timelines you’d use for your own milk.
Your own expressed milk, by contrast, is unpasteurised and carries your own antibodies specific to your baby’s environment, which is a genuine benefit, but it also means it hasn’t been screened or heat-treated in any way. That’s precisely why the hygiene practices around expressing, storing and labelling your own milk matter so much: there’s no pasteurisation step acting as a safety backstop.
If you’re ever offered informal milk sharing outside a registered milk bank, treat it with real caution. Without screening or pasteurisation, there’s no way to verify the donor’s health status or how the milk was actually stored before it reached you, and organisations including the NHS generally advise against informal, unscreened milk sharing for this reason.
A practical note from Wren
Practical milk storage advice works best when it’s tested against real routines, not just theory. One habit worth adopting early: pre-label a week’s worth of small storage bags with dates before you even start expressing. It removes one decision from an already busy day. Where your baby has specific medical needs, always check with your health visitor or neonatal team first.
How Wren products support safer milk storage
Most storage mistakes come down to friction: too many transfers between containers, a pump that’s uncomfortable enough to rush, or fiddly parts that don’t get cleaned properly because they’re a hassle to take apart. Wren’s range is built around removing that friction at each step.
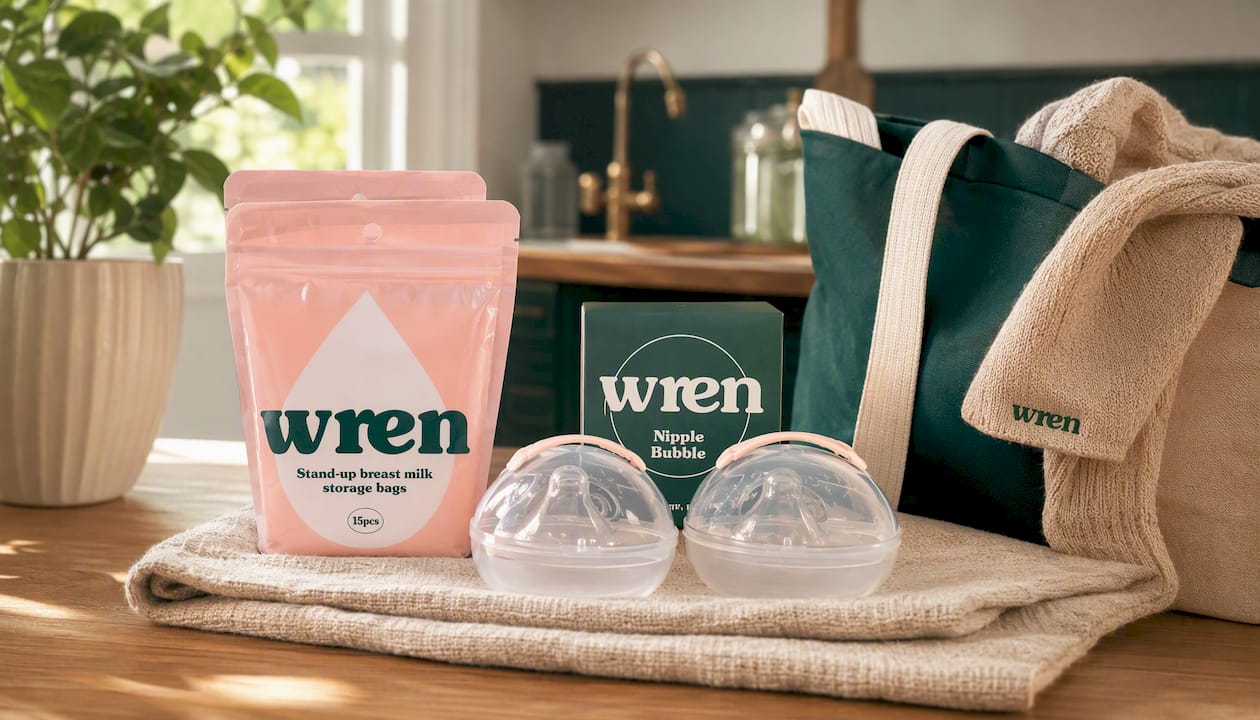
Our hands-free double electric breast pump and hands-free single pump let you express directly into storage-ready containers, cutting out the extra pour that introduces contamination risk. Pair either with the 25mm breast shield to get a comfortable, efficient fit, since a poorly fitted flange is one of the most common reasons mothers cut sessions short. For comfort between sessions, our bamboo reusable breast pads and the Go-To Balm nipple salve handle the soreness that often comes with frequent expressing, while the nipple bubble with storage case protects sensitive skin on the go. Every product is priced in £, with the full breastfeeding accessories range available to browse. If you’re setting up your expressing kit from scratch, start with our breast pump collection and build out from there.
Sources
- Breast milk storage and preparation — CDC
- Storing breastmilk — The York Hospitals NHS Foundation Trust
- Saving expressed breast milk — PMC
This article is general information, not a substitute for advice from a qualified doctor. Consult a qualified healthcare professional about your own circumstances before acting on anything here.


