


How to transport breast milk safely: a UK guide


Expressed breast milk stays safe for a full day in an insulated cooler bag with fully frozen ice packs. At room temperature, the limit drops sharply. The moment you arrive at your destination, move milk to a fridge or freezer. If that is not possible, discard it and express on schedule to protect your supply.
Quick reference for the most common transport conditions:
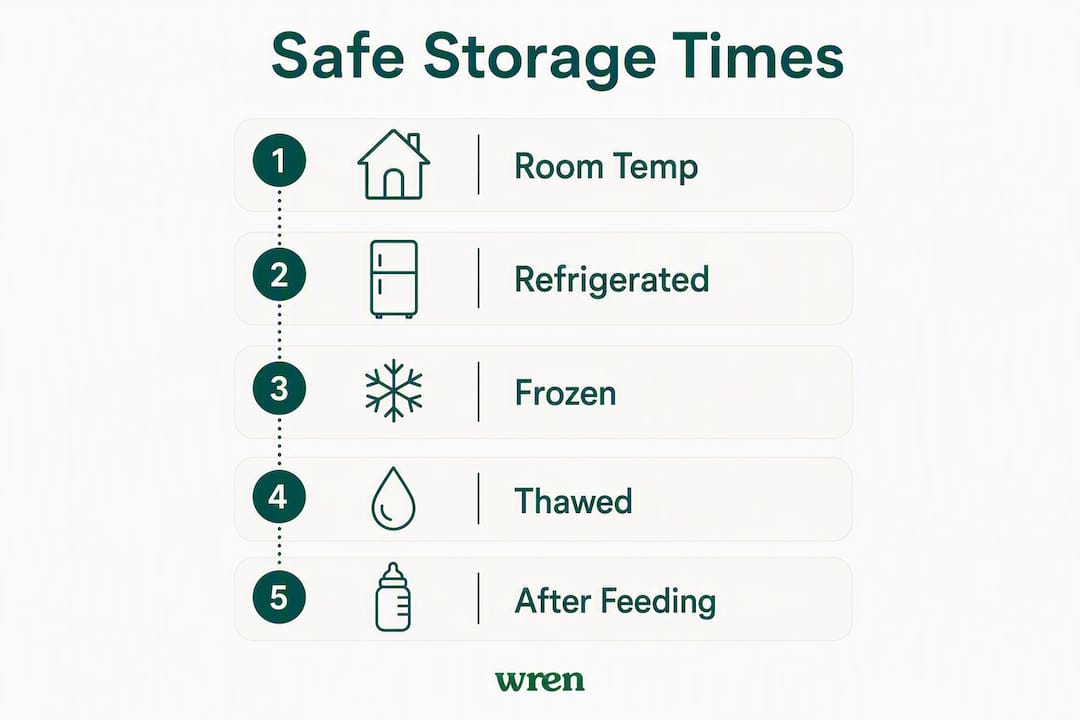
- Room temperature (up to 25°C): up to 4 hours
- Insulated cooler with frozen ice packs: up to 24 hours
- Refrigerated (2–4°C): up to 4 days
- Frozen (deep freeze): about 6 months for best quality, up to 12 months acceptable
- Thawed milk (in fridge): use within 24 hours of fully thawing
If you are ever unsure whether milk has stayed cold enough, treat it as unsafe and discard it. The NHS guidance on expressing breast milk and CDC storage recommendations align on this point: when in doubt, do not feed it to your baby.
Table of Contents
- How long can you safely keep expressed milk during transport?
- How to prepare expressed milk for travel
- How to keep milk cold throughout the journey
- Travel scenarios: car, train, plane, and hospital
- How to defrost and warm transported milk safely
- What to do when you cannot keep milk cold
- Packing checklist for day trips and longer travel
- Key takeaways
- The cold chain matters more than the container
- My-wren breast milk storage bags: built for travel
- Useful sources
How long can you safely keep expressed milk during transport?
The table below covers the full range of storage conditions you will encounter when travelling with breast milk in the UK. All times assume milk was handled hygienically and cooled promptly after expression.
| Condition | Maximum safe time | Key caveat |
|---|---|---|
| Room temperature (up to 25°C) | Up to 4 hours | Use sooner in warm weather; discard if left longer |
| Insulated cooler with frozen ice packs | Up to 24 hours | Packs must be fully frozen at departure |
| Refrigerator (2–4°C) | Up to 4 days | Store at the back, not in the door |
| Freezer (standard) | About 6 months best quality; up to 12 months acceptable | Place at the back; avoid the door shelf |
| Thawed milk (stored in fridge after thawing) | 24 hours from fully thawed | Do not refreeze once thawed |
| Warmed or partially fed bottle | 1–2 hours | Discard any leftover after feeding |
A few caveats worth knowing. The safe usage time for thawed milk starts only when the milk is completely thawed, not when you take it out of the freezer. For fridge and freezer storage, the door is the worst spot: temperature fluctuates every time it opens. Place containers toward the back where conditions are most stable.
Refreezing previously frozen milk is not recommended. Once thawed, the milk should be used within 24 hours or discarded. These figures come from CDC breast milk storage guidance and align with NHS recommendations for UK parents.
How to prepare expressed milk for travel
Good preparation before you leave makes the cold chain much easier to maintain. The choices you make about containers, portion sizes, and labelling all affect how safely milk arrives at its destination.
Choosing the right container
Two main options work well for travel: food-grade screw-top bottles and sealed breast milk storage bags. Bottles are rigid, less likely to leak, and easier to stack in a cooler. Storage bags take up less space when flat-frozen and are practical for longer trips where you need to carry multiple feeds.
Freezer-safe storage bags should have a double-seal closure and be tested before you fill them. Squeeze out air, seal, and press gently to check for leaks before packing. Leave roughly 2.5 cm of headspace at the top of any container you plan to freeze: milk expands as it freezes and a full container can split at the seam.
Portioning and hygiene
Pour milk in feed-sized portions rather than large batches. This avoids waste if a feed is not finished and reduces the risk of contaminating a larger volume. Wash hands thoroughly before handling any container or pump part. All pump components that contact milk should be clean and dry before use.
Pro Tip: Pre-chill your storage bags or bottles in the fridge before filling them. Cold containers help milk cool faster after expression, which extends safe storage time.
Labelling
Every container needs:
- Date and time of expression
- Volume (in ml)
- Child’s name, if the milk is going to a childminder, nursery, or hospital
Use a waterproof marker or pre-printed labels that survive condensation. Follow a first-in, first-out system: use the oldest milk first. For a deeper look at how to store breast milk at home and on the move, the My-wren blog covers the full process.
Step-by-step packing sequence
- Wash hands and assemble clean pump parts.
- Express milk and pour into pre-chilled, labelled containers.
- Seal containers, check for leaks, and leave headspace if freezing.
- Place containers in the cooler bag alongside fully frozen ice packs.
- Close the cooler and keep it sealed until you reach your destination.
How to keep milk cold throughout the journey
The cooler bag is a temporary holding environment, not a substitute for a fridge. The goal is to get milk into a fridge or freezer at the earliest opportunity.
Packing the cooler correctly
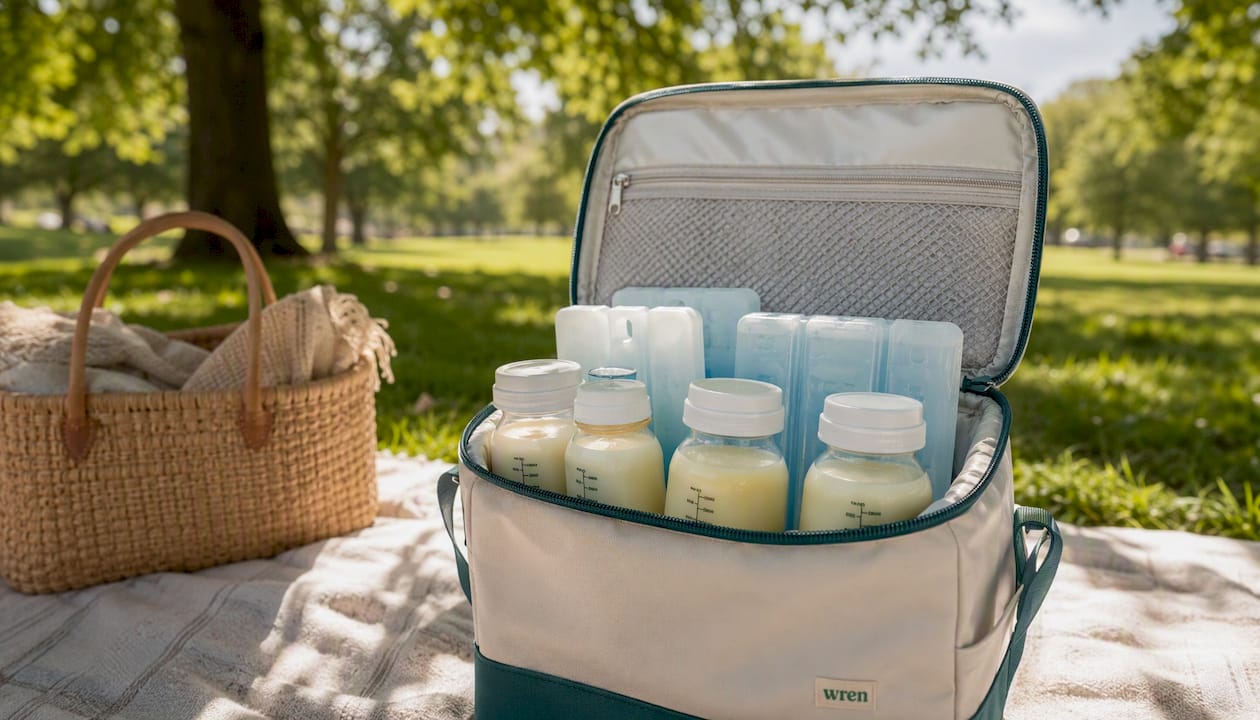
Ice packs must be fully frozen when you leave. Partially thawed packs still keep milk cool but reduce effective cooling time and can trigger additional checks at airport security. Surround milk containers with ice packs on all sides rather than placing them on top only. Pre-chilling the cooler bag itself for 30 minutes before packing adds a useful buffer.
Keep milk away from any meltwater. If using loose ice rather than gel packs, place containers in a sealed zip-lock bag first. For longer trips, a hard-sided cool box maintains temperature more consistently than a soft bag, particularly in a warm car boot.
Dry ice keeps milk frozen for longer journeys but carries real safety risks. It displaces oxygen in enclosed spaces and can cause pressure build-up in sealed containers. Always handle dry ice with insulated gloves, store it in a vented container, and never use it in a confined space without ventilation. Airlines have specific rules about dry ice quantities on board: check with your carrier before travel. CHOP’s lactation programme advises treating dry ice as hazardous material and following airline guidance exactly.
Checking condition on arrival
When you reach your destination, check that ice packs are still cold (not fully thawed) and that milk smells fresh. Refrigerate or freeze immediately. Milk transported in an insulated cooler with frozen packs can go straight into the fridge or freezer on arrival without any additional steps.
Pro Tip: Pack a small digital thermometer in the cooler. If the internal temperature has risen above 4°C during transit, treat the milk as you would refrigerated milk and use it within the remaining safe window rather than refreezing.
Travel scenarios: car, train, plane, and hospital
Day trips vs overnight travel
For a day trip of up to 8 hours, a small insulated bag with two fully frozen gel packs is usually enough. For overnight or multi-day travel, use a larger hard cool box with multiple frozen packs and enough storage bags for the full trip plus one extra day’s supply.
Car journeys
Keep the cooler on the back seat or footwell rather than the boot, where temperatures can spike in warm weather. Avoid placing it near a heater vent. If you are pumping whilst travelling with baby, a car adapter for your pump lets you express during rest stops without losing time.

Train and bus travel
Keep the cooler with you in the passenger area rather than in an overhead rack or luggage compartment where temperatures vary. Allow extra time at stations with security checks. On longer rail journeys, ask station staff about facilities for parents.
Flying with expressed milk
Breast milk is exempt from the standard 100 ml liquid restriction at UK airport security. You can carry any quantity in your hand luggage. Declare it at the security checkpoint and allow extra time for screening.
Key points for airport security:
- Declare all breast milk and cooling accessories before screening begins.
- X-rayed breast milk is safe to feed; if you prefer it not to be x-rayed, request alternative screening such as vapour analysis.
- Clear, rigid bottles pass through bottle liquid scanners more reliably than soft pouches, which can require additional manual checks.
- Ice packs must be fully or partially frozen when presented; liquid ice packs may be subject to the 100 ml rule.
- Friendly Airports for Mothers programmes encourage private expression spaces in terminals. Check your departure airport’s facilities in advance.
For US airports, TSA rules apply. UK airports follow Department for Transport guidance, which similarly exempts breast milk from volume limits. Save a copy of the relevant guidance on your phone to show at the checkpoint if needed.
Hospital transfers
Use an insulated cooler with clearly labelled containers. Most neonatal and postnatal wards have dedicated breast milk fridges, but confirm this with the ward before arrival. Label every container with your baby’s full name, date, time, and volume. Hand milk directly to a nurse rather than leaving it unattended.
How to defrost and warm transported milk safely
Thawing
The safest method is slow thawing in the fridge overnight. For faster thawing, hold the sealed container under warm (not hot) running water or place it in a bowl of warm water. Never thaw at room temperature for extended periods.
The 24-hour countdown begins when milk is completely thawed, not when you remove it from the freezer. Milk thawed in the fridge can stay there for up to 24 hours before use. Once it reaches room temperature, use it within 1–2 hours.
Warming
- Place the sealed container in a bowl of warm water for a few minutes.
- Swirl gently to mix the fat layer that separates during storage. Do not shake vigorously.
- Test the temperature on the inside of your wrist: it should feel neutral, neither warm nor cold.
- Never heat breast milk in a microwave. Microwaves create hot spots that can burn a baby’s mouth and destroy some of the milk’s protective properties.
- Never boil or heat directly on a hob.
After feeding
Once milk has been warmed or a baby has fed from the bottle, use any remainder within 1–2 hours and then discard it. Do not refrigerate and rewarm a partially used bottle.
What to do when you cannot keep milk cold
Sometimes the cold chain fails: ice packs thaw faster than expected, a flight is delayed, or a fridge is not available at the destination. Here is what to do.
- Discard milk that has exceeded safe time limits. If milk has been at room temperature for more than 4 hours, or in a cooler with thawed packs for more than 24 hours, do not feed it to your baby.
- Pump and discard to protect your supply. CDC guidance is clear: if safe storage is not possible, express on your normal schedule and discard the milk. Missing sessions causes supply to drop faster than discarding milk does.
- Express on schedule, even without storage. Maintaining the pumping schedule is the primary action to protect supply while away. Even hand expressing into a sink keeps the signal going.
- Use a car adapter or portable power bank for your pump during long journeys without access to a socket. For practical tips on safe postpartum skincare while travelling that complement your pumping routine, the My-wren blog covers public and travel expressing in detail.
Pro Tip: If you are returning to work and managing supply away from home, the same principles apply. The My-wren guide on breastfeeding tips for returning to work covers scheduling and storage for that specific situation.
Signs milk may be unsafe
Milk that smells strongly sour or rancid, looks curdled beyond normal separation, or has been stored outside safe temperature ranges should be discarded. If you are unsure, contact your midwife, health visitor, or a lactation consultant for advice.
Packing checklist for day trips and longer travel
Day trip (up to 8 hours)
- Small insulated cooler bag
- 2 fully frozen gel ice packs
- 2–3 pre-filled, labelled storage bags or bottles
- Hand sanitiser
- Spare storage bag (in case of leaks)
- Waterproof marker for labelling
Overnight or multi-day travel
- Hard-sided cool box or large insulated bag
- 4–6 fully frozen gel ice packs (or dry ice if flying long-haul, with airline clearance)
- Enough labelled storage bags or bottles for the full trip plus one extra day
- Pump kit with all parts clean and packed in a sealed bag
- Car adapter or portable power bank for the pump
- Spare storage bags and labels
- Small digital thermometer
- Printed or saved copy of airport/security guidance on breast milk
Organising the cooler
Place ice packs on the bottom and sides first. Add milk containers in the centre, upright or flat-frozen depending on bag type. Use a first-in, first-out system by placing older milk at the front for easy access. Keep the cooler closed as much as possible during transit.
For a full kit list covering pump accessories and travel essentials, the My-wren breastfeeding accessories collection has everything in one place.
Key takeaways
Keeping expressed breast milk cold from the moment of expression to the moment of feeding is the single most important action for safe transport.
| Point | Details |
|---|---|
| Room temperature limit | Expressed milk is safe for up to 4 hours at room temperature (up to 25°C). |
| Cooler bag limit | A fully frozen ice pack cooler keeps milk safe for up to 24 hours; refrigerate or freeze on arrival. |
| Refrigerator limit | Expressed milk stays safe for up to 4 days in the fridge (2–4°C). |
| Frozen storage | For best quality, store breast milk frozen for about 6 months; up to 12 months is acceptable. |
| Thawed milk window | Once fully thawed, use within 24 hours; do not refreeze. |
| Cold chain failure | If safe storage is not possible, express on schedule and discard milk to protect supply. |
| My-wren storage bags | My-wren’s freezer-safe breast milk storage bags are designed for travel, with a double seal and labelled capacity markings. |
The cold chain matters more than the container
The most common mistake parents make when transporting expressed milk is focusing on the container and underestimating the cold chain. A premium storage bag means nothing if the ice packs are half-thawed before you leave the house. The container keeps milk contained; the temperature keeps it safe.
The 3-3-3 and 4-4-4 rules circulate widely in parenting groups as memory aids for storage times. They are useful shortcuts, but they are not precise. The CDC figures (4 hours at room temperature, 4 days in the fridge, up to 12 months frozen) are the ones to follow, and they assume optimal conditions: clean expression, prompt cooling, and stable storage temperatures. In practice, UK homes and travel conditions are rarely perfectly controlled, so erring on the shorter end of any range is the safer choice.
One thing that often gets overlooked: the pumping schedule matters as much as the storage. Parents who discard milk because the cold chain failed sometimes reduce their expressing frequency to compensate, which is the one action most likely to reduce supply. Express on schedule regardless of whether you can store the milk. Supply responds to demand, not to what ends up in the fridge.
My-wren breast milk storage bags: built for travel
Carrying expressed milk safely starts with a container you can trust. My-wren’s breast milk storage bags are freezer-safe, double-sealed, and printed with capacity markings so you can portion feeds accurately before you pack. The flat-freeze design means they stack neatly in any cooler bag, taking up less space than rigid bottles on longer trips.
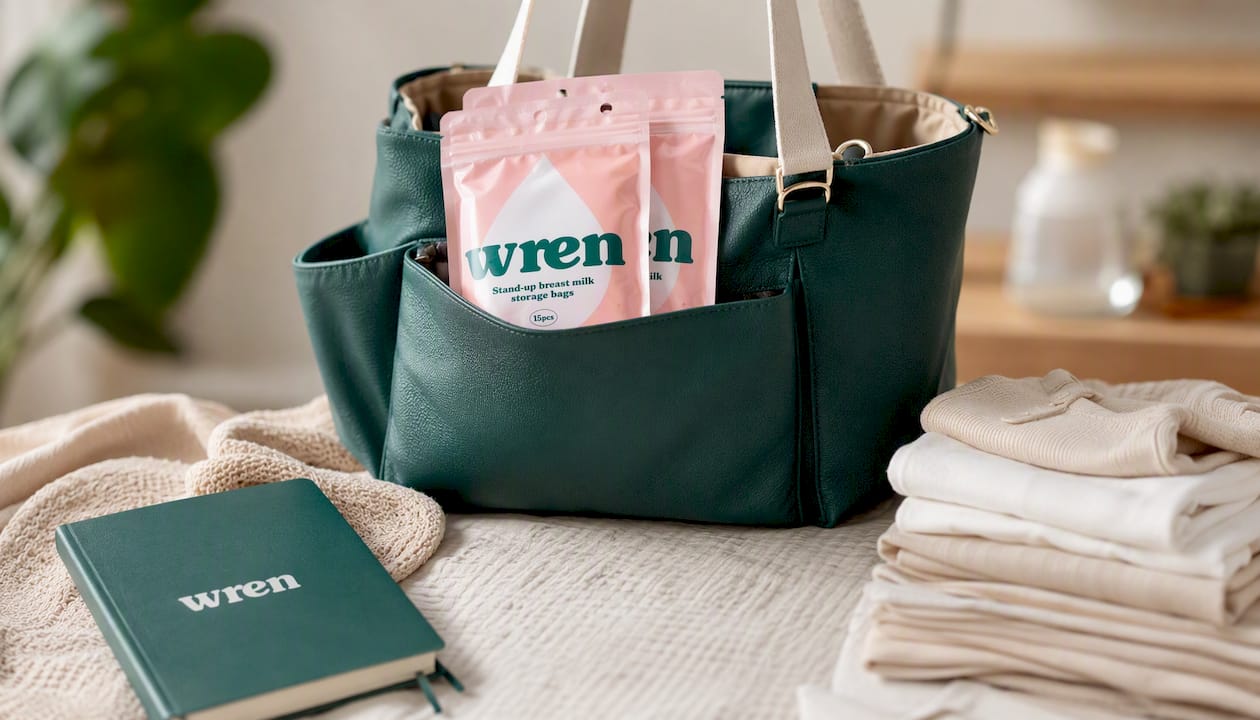
For day trips, a pack of 10 bags alongside two frozen gel packs covers most parents’ needs. For overnight or multi-day travel, the larger pack sizes give you enough for the full trip without rationing. If you have questions about which size suits your travel plans, the My-wren customer support team can help. Browse the full range and order directly at my-wren.com.
Useful sources
- Expressing and storing breast milk | NHS — NHS guidance on safe storage times, container hygiene, and handling expressed milk; the primary UK reference for parents.
- Breast milk storage and preparation | CDC — detailed storage time tables for room temperature, fridge, and freezer; the source for the figures used throughout this guide.


