


Sanitise Your Breast Pump Parts Every 24 Hours for UK Parents


Wash pump parts after every single use, and sanitise them at least once every 24 hours. Daily sanitising is especially important for babies who are very young, premature, or have weakened immune systems. Always check the manufacturer instructions for your specific pump first, since not every part is designed to withstand boiling or steam.
TL;DR:
- Daily sanitising is crucial for very young, premature, or immunocompromised babies, with some guidelines recommending sterilising after every use.
- Washing with warm water and soap must always come first before sterilising, which can be done by boiling, steam steriliser, microwave bags, or dishwasher, depending on manufacturer instructions.
- Rinse and dry pump parts thoroughly on a dedicated surface and store in sealed containers to prevent bacterial growth between uses.
- Replace worn or discolored valves, membranes, and seals every few weeks, especially if they show cracks, persistent smells, or reduced suction.
- Follow manufacturer-specific guidance for sterilising different parts, as electronic components and tubing generally cannot be submerged or steamed.
Table of Contents
- Why cleaning and sterilising matters for breast pump safety
- How often to sterilise: clear, age- and situation-based guidance
- How do you actually sterilise breast pump parts?
- Drying, storing and handling between uses
- Special situations: premature babies, illness, hospital use and travel
- When should you replace pump parts?
- Wren’s guidance and what to check on your own pump
- What actually matters in this routine
- Simplify the routine with the right kit
- Sources
Why cleaning and sterilising matters for breast pump safety
Breast milk left on plastic or silicone doesn’t just go off. It feeds bacteria. Warm, damp milk residue trapped in a valve or membrane is close to an ideal breeding ground, and NHS guidance is direct about it: every part that touches breast milk needs thorough cleaning after every single use.
Cleaning and sterilising aren’t the same job, though people often use the words interchangeably. Washing with warm water and washing-up liquid physically removes milk residue and the bacteria living in it. Sanitising goes a step further, using heat or steam to reduce microbes that washing alone leaves behind. You need both, in that order. Skipping straight to sterilising without washing first just steams contaminated residue in place.
Some babies carry more risk than others. Newborns, babies born prematurely, and infants with weakened immune systems have far less capacity to fight off the bacteria that a fully-term, robust six-month-old would shrug off without incident.
Who needs the strictest routine?
- Babies under two to three months old
- Premature or low-birth-weight infants
- Babies with a diagnosed immune condition
- Any baby currently unwell or recovering from illness
The CDC is explicit that daily sanitising matters most for exactly this group, even when a healthy older baby might tolerate a slightly looser schedule.
How often to sterilise: clear, age- and situation-based guidance
The baseline is simple: wash every part after every pumping session, and sanitise at least once every 24 hours. That’s the floor, not the ceiling.
For younger or medically vulnerable babies, treat daily sanitising as a firm rule rather than a suggestion. The CDC’s guidance singles out infants under roughly two to three months, premature babies, and those with weakened immunity as groups where daily sanitising meaningfully lowers infection risk. Once your baby is older and healthy, some parents relax to sanitising every other day, though washing after each use still isn’t negotiable.
Life doesn’t always allow a full wash between every session, particularly if you’re pumping at work or somewhere without easy access to a sink. When that happens:
- Rinse pump parts briefly under running water
- Place them in a sealed, clean bag or container
- Refrigerate for a few hours until you can wash properly
This buys you time, but it isn’t a substitute for washing. The CDC notes that refrigeration slows bacterial growth rather than stopping it, so treat it as a stopgap for a single day, not a routine.
A few situations call for sterilising regardless of your usual schedule:
- The very first use of a brand new pump kit, straight out of the box
- After your baby or anyone in the household has been unwell
- After repairing or replacing any part that’s been handled or stored loose
Manufacturer instructions should always override general advice when the two conflict, since some silicone parts and valves aren’t rated for repeated boiling or high heat.
How do you actually sterilise breast pump parts?
Washing comes first, every time, no exceptions. Take the pump apart completely, rinse each milk-contact part under running water to remove loose residue, then wash in warm water with washing-up liquid using a dedicated brush kept only for pump and bottle parts. Rinse thoroughly afterwards. The FDA is clear that this washing step is what makes parts safe for continued single-user use, and sanitising only works properly on a genuinely clean surface.
From there, you have three practical sanitising options, and the right one depends on what your manufacturer allows.
- Boiling. Submerge dishwasher-safe, heat-resistant parts fully in a pan of boiling water for around five minutes. Use clean tongs to lift them out, never your fingers, and set them on a clean, unused dish towel or paper towel to air-dry.
- Steam or microwave steriliser. Plug-in steam sterilisers and microwave steam bags work well for parents pressed for time. Follow the timing on the steriliser packaging and check your pump’s manual to confirm the parts are compatible.
- Dishwasher sanitise setting. A dishwasher with a dedicated sanitise cycle handles rigid plastic parts well. Small valves and membranes can warp or get lost, and heat-sensitive silicone may degrade faster than the manufacturer intends, so check the pump guidance before running these through with your usual load.
The FDA and CDC both note that these three methods, used correctly, reprocess parts adequately for continued safe use by the same person, even if “completely sterile” is a harder standard to guarantee at home.
Two parts are almost always excluded from any sterilising method: the motor unit and any battery pack. Water and electronics don’t mix, and manufacturers build these to be wiped down with a damp cloth, not submerged or steamed. Tubing is usually excluded too, unless your specific manufacturer says otherwise, because moisture trapped inside tubing is difficult to dry and can grow mould. If tubing does get milk in it, check your manual. Many pumps recommend running the pump dry afterwards or replacing the tubing rather than trying to wash it.
Pro Tip: Keep one brush and one drying rack used exclusively for pump and bottle parts. Sharing them with general washing-up brings kitchen bacteria straight back into contact with your baby’s feeding equipment.
A simple daily routine keeps this manageable:
- Disassemble the pump fully after each session.
- Wash every milk-contact part in warm water and washing-up liquid.
- Sanitise once every 24 hours using your chosen method.
- Air-dry fully on a clean, dedicated surface.
- Store the dry parts in a sealed, clean container until next use.
Drying, storing and handling between uses
Air-drying matters more than people assume. Lay washed parts on a clean, unused dish towel or paper towel reserved for this purpose, and let them dry completely before storing or reassembling. Never rub them dry with a kitchen towel that’s already handled other dishes, since that reintroduces the exact bacteria you just washed off.
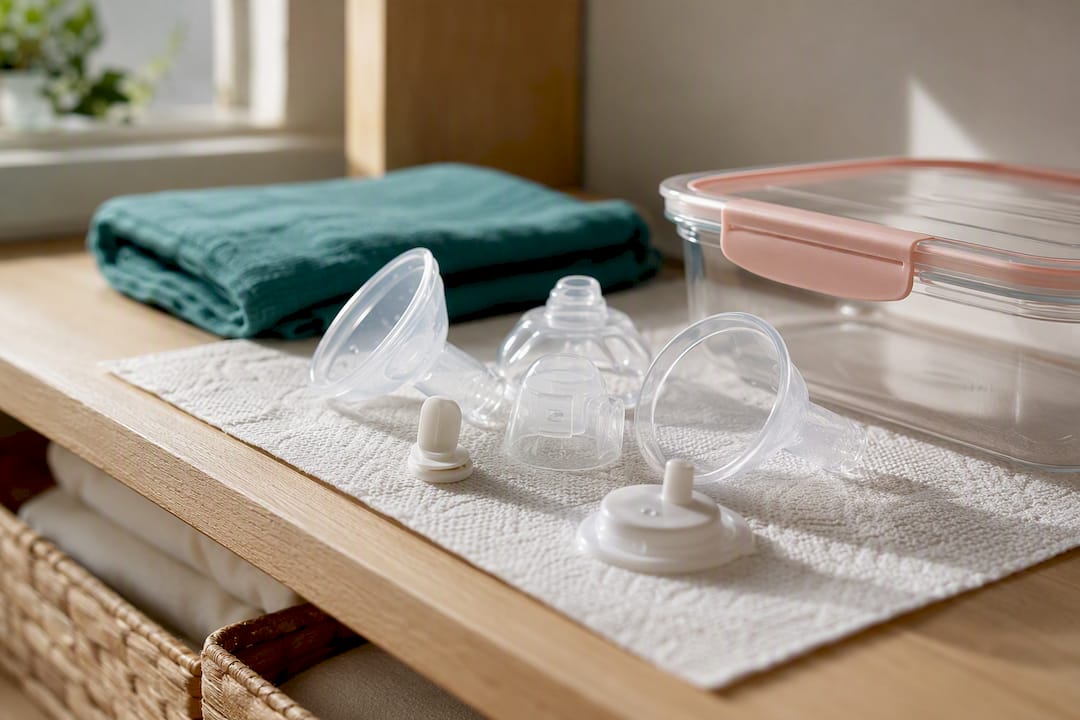
Once dry, store parts in a clean, sealed container or resealable bag rather than leaving them loose on a worktop, where dust and airborne particles settle on damp or even dry surfaces.
If you’re pumping several times a day and genuinely cannot wash between every session, the fridge workaround still applies here: rinse, seal, refrigerate for a few hours. It’s a reasonable short-term measure, not a long-term habit, since refrigeration slows bacterial growth without eliminating it.
Special situations: premature babies, illness, hospital use and travel
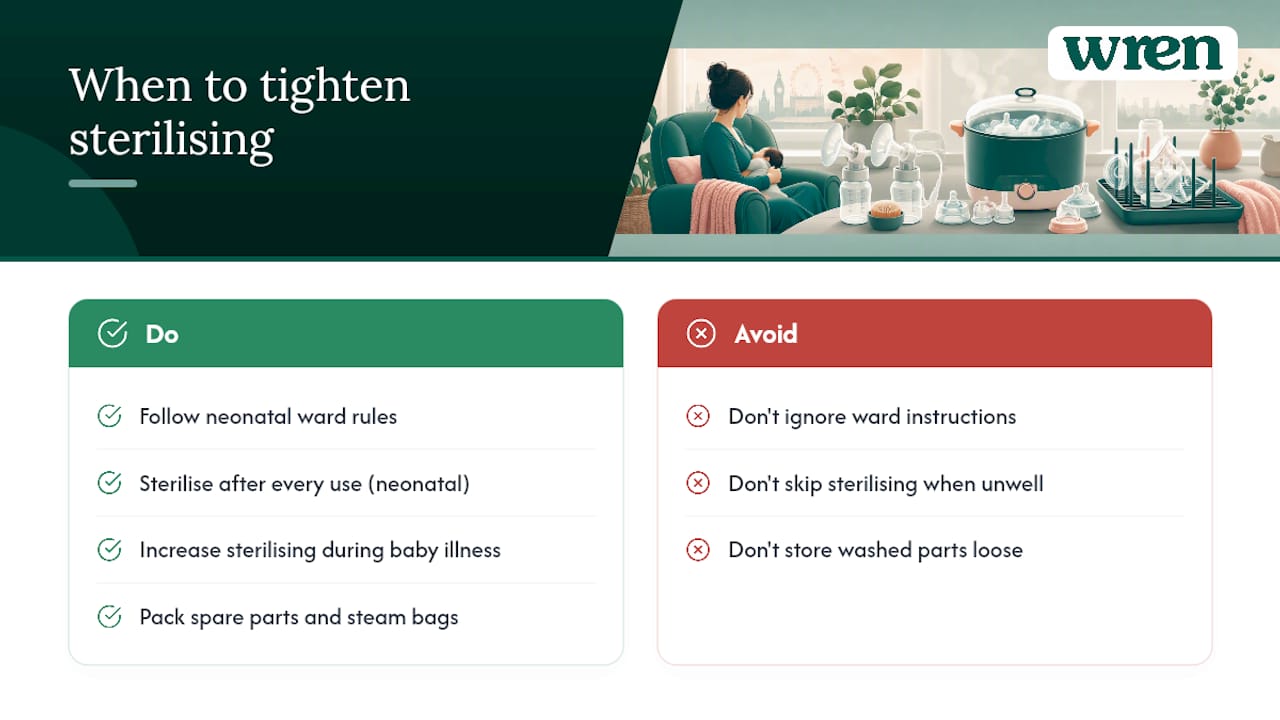
Neonatal units often run stricter protocols than home guidance suggests, sometimes recommending sterilising after every single use rather than once daily. If your baby is on a neonatal ward, follow the ward’s specific instructions over general guidance, since these teams tailor protocols to the infection risks premature babies face.
If your baby becomes unwell for any reason, tighten your routine immediately. Increase sterilising frequency and speak to a health professional if you’re unsure whether your usual schedule is still appropriate during illness or recovery.
Travel adds its own complications. Pack a spare set of pump parts so a missed wash doesn’t derail a whole day, and look at portable options like microwave steam bags, which need only boiling water or a microwave and work in most hotel rooms or family bathrooms. Pack clean, dry storage containers separately so washed parts don’t sit against anything else in your bag.
When should you replace pump parts?
Valves, membranes, and silicone seals wear out well before most parents replace them. Worn silicone loses its shape slightly, and a valve that’s lost its snap can quietly cut your suction without you noticing why a session felt less productive than usual.
Watch for these signs that a part needs replacing rather than just another wash:
- Visible cracks, tears, or cloudiness in silicone or plastic
- A persistent sour or milky smell that survives a full wash and sanitise
- Noticeably reduced suction or a longer time to express the same amount
- Discolouration that doesn’t lift with normal cleaning
Manufacturers typically publish recommended replacement intervals for valves and membranes, often measured in weeks rather than months given how much wear daily pumping puts on them. Buying genuine replacement parts from the manufacturer or an authorised retailer matters here, since ill-fitting third-party valves can affect both suction and hygiene.
Wren’s guidance and what to check on your own pump
My-wren maintains detailed cleaning and sterilising instructions written specifically for Wren pump parts, alongside a dedicated guide for collection cups, since cups often need slightly different handling than valves or flanges.
Whatever pump you use, your manual is the final word on which parts tolerate boiling, steam, or a dishwasher’s sanitise cycle. General guidance gets you most of the way there; the manufacturer instructions close the gap for your specific kit.
What actually matters in this routine
Most of the anxiety around sterilising comes from treating every session like a hospital procedure. That’s not what the guidance asks for. Washing after every use is the non-negotiable part; sanitising once every 24 hours covers the rest for most healthy babies past the newborn stage.
Where I think parents get this wrong is assuming stricter always means safer. Boiling a valve five times a day when your six-month-old is thriving doesn’t protect them any better than once daily, and it wears out silicone faster, which means more replacement parts and more cost. Save the intensive daily-or-more sanitising for when it’s genuinely indicated: newborns, premature babies, or illness. Outside that, build a routine you’ll actually stick to. A workable habit followed every day beats a perfect one abandoned by week three.
— Paul
Simplify the routine with the right kit
Reducing how often you handle and reassemble parts is one of the most practical ways to make daily washing and sanitising sustainable, and that’s where the right pump helps. The Hands-Free Double Electric Breast Pump and the Hands-Free Electric Breast Pump both use fewer, simpler parts than a traditional pump and motor setup, which cuts down what you need to disassemble, wash, and sanitise after every session.
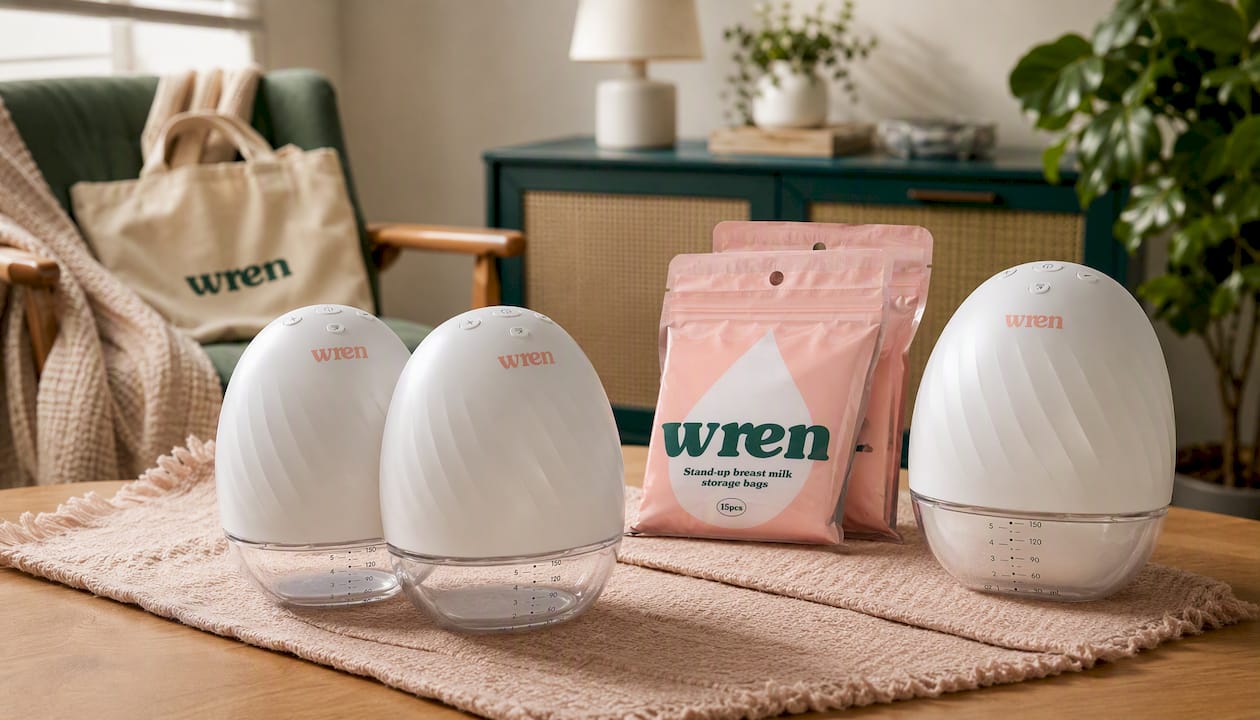
Keeping a spare set on hand means you’re never caught short between a wash and a sanitise cycle, and pairing that with Breast Milk Storage Bags gives you a clean, sealed way to store expressed milk or rinsed parts if you’re out for the day. Browse the full range at My-wren and build a kit that fits your actual routine, not just the one on the box.
This article is general information, not a substitute for advice from a qualified doctor. Consult a qualified healthcare professional about your own circumstances before acting on anything here.


