


3 Reasons to Pump One Breast Safely for UK Parents


Yes, pumping one breast at a time is completely normal, and it serves three distinct goals: relieving fullness, building supply on one side, or simply collecting a feed while your baby nurses the other. Choose your technique based on which of these you need. Watch for fever, severe one-sided pain, or a hard lump that doesn’t ease. Those signal you need a GP or lactation consultant promptly.
TL;DR:
- Pumping for milk supply requires consistent, frequent sessions on the targeted breast after establishing feeding to avoid oversupply issues.
- Proper flange fit and starting with low suction are crucial for comfort and optimal milk flow, especially when pumping single sides.
- Expressed milk should be cooled within an hour, labeled, and stored appropriately without mixing warm and cooled milk.
- Pumping while breastfeeding can increase yield due to natural let-down reflex but may produce smaller amounts than dedicated pump sessions.
- Troubleshooting asymmetry involves offering the less productive breast first and varying stimulation to balance milk output over time.
Table of Contents
- When to pump one breast: relief, supply-building and collection
- How to pump one breast: step-by-step technique for single-side expressing
- Adjusting your approach: pumping to increase supply versus relieving engorgement
- Pumping while nursing: setups, positions and realistic expectations
- Troubleshooting asymmetry: why one breast gives more milk and what to try
- Safety, comfort and when to contact a professional
- Why trust this guidance: author and Wren expertise
- Basic technique: shield placement, suction and timing that actually work
- Where the conventional advice on single-side pumping falls short
- Practical picks for single-side pumping and comfort
- Sources
When to pump one breast: relief, supply-building and collection
The goal you’re chasing changes everything about how you pump one breast. Pumping for relief and pumping to build supply are almost opposite techniques, even though they use the same equipment.
Relief pumping is short and gentle. You’re not trying to stimulate more production, just softening an uncomfortably full breast so feeding or sleep becomes bearable again. A few minutes on a low setting, stopping once the pressure eases, does the job. Overdoing this can backfire: the more you empty a breast beyond comfort, the more milk your body thinks it needs to make.
Supply-building pumping works on the opposite principle. Frequency and consistency of stimulation are what drive production, according to clinical reviews of pumping physiology. A single well-timed session added to your day, repeated daily, moves the needle more than one marathon pump ever will.
Collection pumping, meanwhile, is about timing around your baby’s feeding pattern rather than any physiological target. Many mothers pump one side while nursing the other, or express after a feed when the second breast still has milk left.
Whichever reason brings you to the pump, what you do with the milk afterwards matters just as much as the session itself:
- Cool expressed milk within an hour if you’re not using it straight away
- Label the container with the date and use the oldest milk first
- Store in the fridge for a short-term use or freeze for longer storage
- Never top up an already-cooled bottle with warm, freshly expressed milk
- Wash all pump parts that touch milk before the next session
How to pump one breast: step-by-step technique for single-side expressing
Good single-side pumping starts with the flange, not the settings. A shield that pinches or leaves too much space around the nipple will limit output and cause soreness, whatever pump you’re using. Wren’s Breast Shield 25mm is a common starting size, but nipple diameter varies enough that it’s worth checking fit before committing to a session length.
- Centre the nipple in the flange tunnel so it moves freely without rubbing the sides.
- Start on the lowest suction setting to trigger let-down, which typically arrives within one to two minutes.
- Once you feel the milk start flowing, increase suction gradually to whatever feels strong but not painful.
- Watch the milk stream rather than the clock. NHS guidance on expressing recommends stopping when flow slows to just a few drops per second, which usually falls somewhere within a typical range for a single side.
- Use gentle massage or breast compressions during the session to encourage a second let-down if flow tails off early.
Hands-free wearable pumps follow the same principles but shift the practical setup: because the pump sits inside your bra rather than being held, you can adjust position or clothing mid-session without breaking suction, which makes them well suited to pumping while doing something else entirely.
Pro Tip: Warm your flange slightly before pumping, either by holding it in your hands for a minute or running it under warm water. Cold plastic against skin can delay let-down more than people expect.
Adjusting your approach: pumping to increase supply versus relieving engorgement
The two goals need different rules around frequency, and mixing them up is where most oversupply or clogged-duct problems start.
If you’re building supply, add one or two targeted pumping sessions per day on the breast you want to boost, but only once feeding is well established, generally after the early weeks postpartum. Jumping in with aggressive pumping too soon risks triggering an oversupply your body then has to manage. Consistency across days beats one long, heroic session.
If you’re relieving engorgement, the opposite discipline applies. Express only enough to soften the breast and ease pain, not until it feels empty. Frequent, prolonged sessions in the name of comfort will simply teach your body to make more milk than your baby needs, restarting the fullness cycle.
Watch for these warning signs regardless of which goal you’re pursuing:
- A hard, red, or increasingly painful area that doesn’t soften with gentle massage
- Milk supply that seems to be climbing faster than your baby’s demand
- Persistent fullness that returns within an hour of a full pump session
- Nipple pain that worsens rather than settles across a week
Our engorgement relief guide covers fast, safe steps if discomfort is your main problem right now.
Pumping while nursing: setups, positions and realistic expectations
Pumping one breast while your baby nurses the other works because the baby’s suckling triggers let-down on both sides, often pulling more milk from the pumped breast than a stand-alone session would. This is one of the more efficient ways to collect milk without adding extra time to your day.
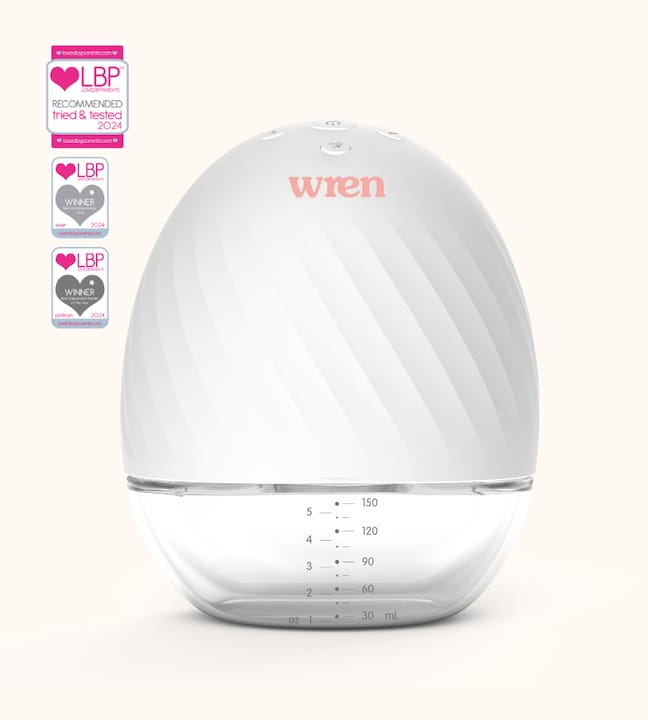
Comfort depends heavily on position. A laid-back or football hold tends to free up space for a pump on the other side, while a cradle hold can crowd the setup. Hands-free wearables solve most of this, letting you hold your baby normally while the pump runs quietly under your top.
A few things worth expecting:
- Yields during a simultaneous session are often smaller than a dedicated pump, since your baby is drawing some of the demand
- Let-down usually happens faster than solo pumping, thanks to the nursing side doing the work
- Wash hands before handling flanges mid-feed, and keep a spare set nearby if you’re switching sides often
Our guide to breastfeeding positions has more detail on holds that pair well with pumping.
Troubleshooting asymmetry: why one breast gives more milk and what to try
One breast almost always outproduces the other, and that’s down to anatomy and storage capacity rather than anything you’ve done wrong, according to the Australian Breastfeeding Association. Let-down timing differs slightly side to side too.
To encourage the quieter breast:
- Offer it first at each feed, when your baby’s suck is strongest
- Change holds regularly to vary pressure and stimulation angles
- Add a short pumping session on that side between feeds
A sudden shift in preference, rather than a gradual one, is worth investigating rather than just working around.
Safety, comfort and when to contact a professional
Fever, a red patch that feels hot and tender, a lump that won’t soften, or your baby suddenly refusing one side all warrant prompt attention. A sudden one-side preference can sometimes point to an ear infection or congestion rather than anything to do with your milk, so it’s worth ruling out physical causes before assuming a supply problem.
For everyday soreness, warm compresses, gentle massage, and checking your pump settings usually help. If symptoms persist beyond a day or two, contact your GP or an ILCA-registered lactation consultant.
Why trust this guidance: author and Wren expertise
This guide draws on NHS expressing guidance and published lactation research, cross-checked against how Wren’s own pump range, shields, and lactation massager are designed to be used day to day. Paul, who writes on infant feeding topics for My-wren, put this piece together with an eye to what actually happens at 3am with a pump in one hand.
Basic technique: shield placement, suction and timing that actually work
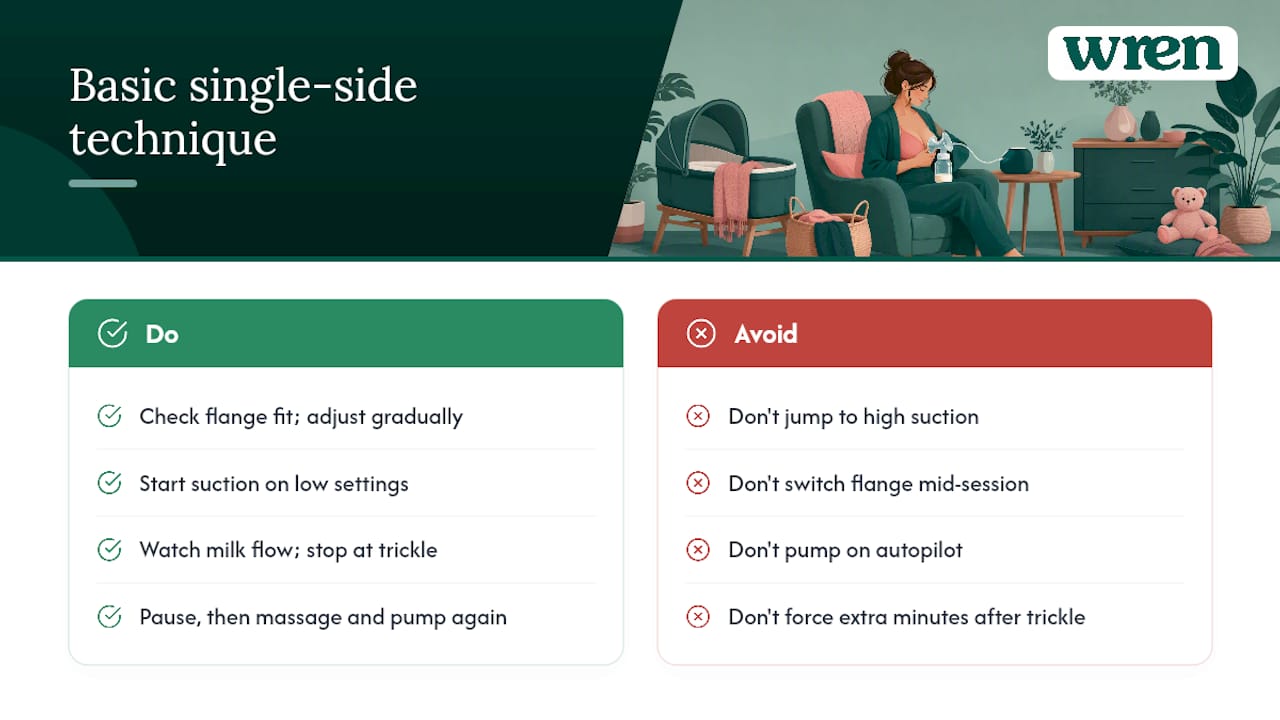
Most single-side pumping problems trace back to one of three things: a flange that doesn’t fit, suction started too aggressively, or a session run on autopilot without watching the milk.
Flange fit isn’t just about diameter. The nipple should move freely in the tunnel without the areola getting pulled in too, which causes rubbing and reduced output over time. If you’re sizing up or down, do it gradually and reassess after a few sessions rather than switching mid-pump.
Suction should always start low. This mimics how a baby begins a feed, with quick, light sucks before settling into a deeper rhythm once milk starts flowing, which is the same principle NHS expressing guidance is built on. Jumping straight to high suction can delay let-down rather than speed it up, because it tends to cause tension rather than the relaxed state milk ejection needs.
Timing is less about hitting a set number of minutes and more about reading the flow. A strong stream that tails into a trickle, then slows to drops, is your natural stopping point. Trying to squeeze extra minutes out after that rarely yields much and just adds soreness. If you’re pumping to build supply rather than for comfort, a brief second massage-and-pump attempt after a short pause can sometimes trigger another small let-down worth capturing.
Where the conventional advice on single-side pumping falls short
Most guidance treats “pump one breast” as a single instruction, when it’s really three different jobs wearing the same outfit. Relief pumping, supply-building, and collection during a feed need different session lengths, different frequencies, and different mental approaches, and conflating them is what leads mothers into oversupply or frustration with poor yields.
The bigger gap, though, is how little attention flange fit gets compared with suction settings. A mother troubleshooting low output will often cycle through every setting on her pump before checking whether her shield size still matches her, despite nipple size shifting across the first weeks postpartum. Get the fit right first. Everything else, from let-down speed to comfort to actual milk volume, tends to follow from that one decision more than people expect.
If there’s one thing to prioritise, it’s this: match your technique to your actual goal that day, not a generic routine you read once and kept repeating.
— Paul
Practical picks for single-side pumping and comfort
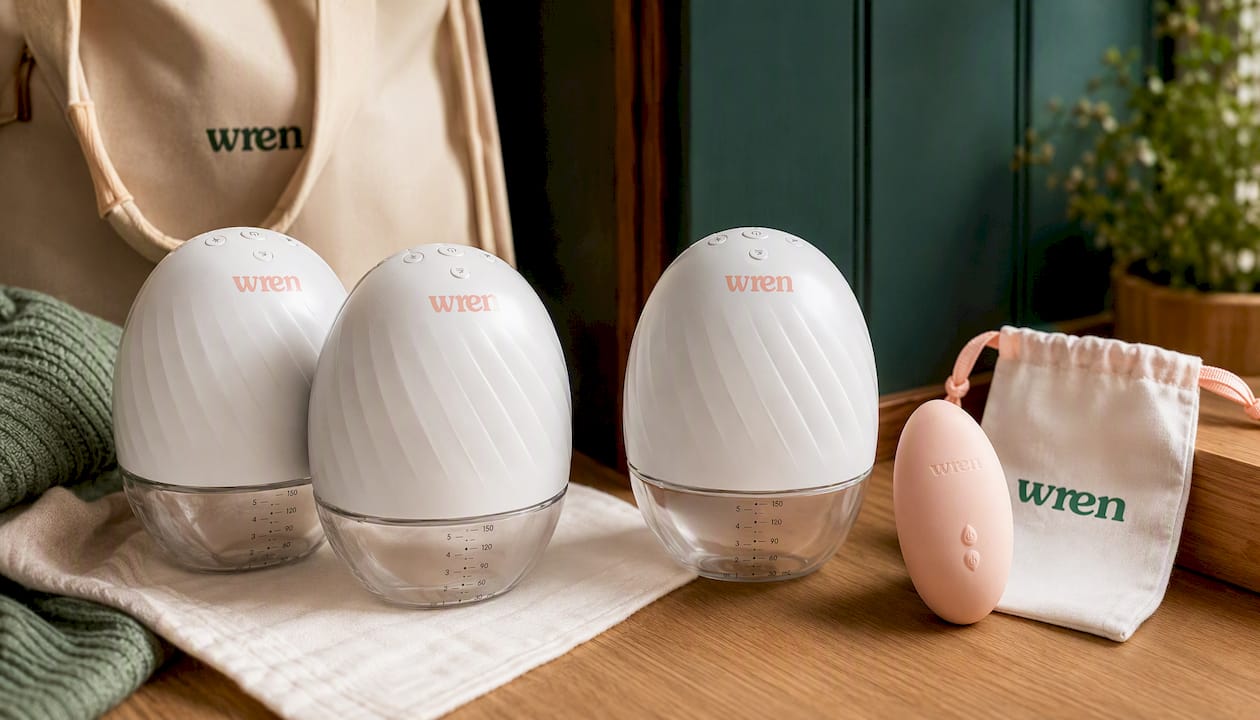
Getting single-side pumping right usually comes down to having the right tool for the specific job, not one pump doing everything badly. For quick top-ups between feeds, a Hands-Free Electric Breast Pump fits under clothing and runs quietly enough to use while your baby naps beside you. For engorgement, a Lactation Massager used for a minute or two before pumping can loosen milk that’s sitting stubbornly in the ducts, making the session faster and gentler.
Before buying, check your flange size against your actual nipple diameter rather than guessing from cup size, since the two often don’t match. My-wren’s Breast Shield 25mm suits many mothers as a starting point, though sizing up or down is common in the first few months. Prices across ranges of breastfeeding products vary widely. Check the retailer’s website for current prices and returns policy details. Browse the full breast pump collection to compare hands-free and double options side by side, and pick the setup that matches whichever goal, relief, supply, or collection, you’re working towards this week.
This article is general information, not a substitute for advice from a qualified doctor. Consult a qualified healthcare professional about your own circumstances before acting on anything here.
Sources
- Expressing breast milk with a pump - Best Start in Life
- Feeding from one breast | Australian Breastfeeding Association
- One side preference during breastfeeding
- PMC review article on lactation/pumping physiology


