


Commute proof: store milk at work cold for an 8 hour shift


Keep expressed milk in the back of the fridge at 4°C for the length of an 8-hour shift, and it stays safe. No reliable fridge to hand? An insulated cooler bag with frozen ice packs holds milk safely for up to 24 hours, and a portable chiller works just as well for longer commutes or private setups. Both the NHS and WORKFEED back this up, and Some storage ranges are built around this routine.
TL;DR:
- Milk stored in a fridge at 4°C lasts up to 8 days, with the safest spot being the back of the fridge away from temperature fluctuations.
- If refrigeration isn’t available, a cooler with frozen ice packs safely keeps milk for up to 24 hours, and a portable chiller can extend that duration.
- Use durable bottles for transport to prevent punctures and leaks, and double-bag milk or place bags in a hard container to reduce spill risk.
- Prepare milk in small portions of 60 to 120 ml before returning to work to allow faster thawing and reduce waste.
- Employers should provide a private, lockable space, fridge access, and a sink to support breastfeeding mothers at work.
Table of Contents
- Where to store milk at work: fridge, cooler or chiller?
- Bottles or storage bags: which packaging actually survives a workday?
- How do you keep milk cold on the commute?
- What should your employer provide for expressing at work?
- How do you prepare before returning to work?
- Keeping pump parts clean between sessions
- How do you defrost and warm milk safely?
- My-wren’s take on making storage simple
- What the research actually tells returning mothers
- How Wren’s storage solutions fit your workday
- Sources
Where to store milk at work: fridge, cooler or chiller?
Room temperature is the least reliable option and should only ever be a short bridge, not a plan. Beyond that, your choice depends on what your workplace actually offers.
- Room temperature (up to 25°C): safe for a few hours, useful only while you finish a task before getting milk into the cold chain.
- Insulated cooler with frozen ice packs: keeps milk cold for up to 24 hours, ideal for offices without a fridge or for a long commute home.
- Fridge at 4°C or lower: milk stored in a sterilised container or storage bag lasts up to 8 days at the back of the fridge.
- Fridge at an unknown temperature: treat it as short-term only. If you can’t confirm the setting, assume the higher end of the risk and bring milk home that same night or rely on a cooler instead.
- Freezer (minus 18°C): up to 6 months, useful once milk is off-site and into your main stash.
The back of the fridge stays coldest and most stable, away from the temperature swings that happen every time the door opens. The door shelves and vegetable drawers run several degrees warmer, which matters over an 8-hour shift where nobody’s checking the thermostat for you.
A portable chiller earns its place when you don’t trust the communal fridge, want more privacy, or simply don’t want your milk sitting next to someone’s lunch. Most run on rechargeable batteries or ice packs, hold two to four bottles, and remove the need to negotiate shelf space every single day. That’s not overkill. It’s one less daily stressor.
Bottles or storage bags: which packaging actually survives a workday?
Rigid, food-grade glass or hard plastic bottles are the sturdier choice, resisting punctures in a bag full of laptop chargers and lunch containers. Mayo Clinic recommends them for exactly this reason. Milk storage bags are lighter and stack flat in a fridge, but they’re also more prone to splitting under pressure, especially once frozen and thawed.
- Bottles: durable, easy to clean, but bulkier to transport.
- Storage bags: space-efficient and freezer-friendly, but need extra protection against tears.
- Reduce spill risk: double-bag milk or place bags inside a hard secondary container before packing them into your cooler.
For frozen milk, leave a little headspace in bottles and bags alike. Milk expands as it freezes, and a completely full container is how you end up with a cracked bottle or a burst seal in your bag.
Pro Tip: Portion milk into 60 to 120ml servings before freezing or chilling, matching Mayo Clinic’s guidance for early return-to-work volumes. Smaller portions thaw faster and cut down on wasted milk.
Always label with your baby’s name, the date expressed, and the volume. Nurseries and childminders rely on this, and it also helps you rotate stock so nothing sits at the back of the freezer past its window.
How do you keep milk cold on the commute?
A cooler bag that’s been sitting in a hot car boot all morning defeats the purpose before you’ve even opened the office door. Get the setup right before you leave the house.
- Freeze your ice packs solid overnight and pack them both above and below the milk containers, not just on one side.
- Fill gaps with extra ice packs or a rolled towel; a loosely packed cooler loses cold air faster than a full one.
- Keep the cooler out of direct sun and away from heaters, whether that’s on a train seat, in a car footwell, or under a desk.
- Never leave milk in a car door pocket or on a dashboard. Temperatures there can climb well above the safe range within minutes on a warm day.
- Swap ice packs for fresh frozen ones if your commute runs long, particularly on the return journey when packs have already worked a full shift.
For shared fridges, a small hard box inside your bag keeps things discreet and prevents any leaks from touching other food, a habit the NHS specifically recommends. Carrying pump parts in a separate zipped pouch, rather than loose in your bag, keeps the whole routine low-key and tidy.
What should your employer provide for expressing at work?
WORKFEED’s guidance is clear: employers should offer a private, lockable, non-toilet space, somewhere to store milk, and access to a sink for washing pump parts. None of that is a special favour. It’s a baseline for anyone expressing during the working day.
- A private room (not a toilet cubicle) with a lockable door.
- Fridge space, clearly agreed, so milk isn’t shuffled around by colleagues.
- Access to a sink or hot water for washing equipment.
- Some flexibility on break timing to fit pumping sessions around meetings.
If you haven’t raised this yet, a short, direct conversation works better than an email essay. Try something like: “I’ll need to express milk twice during my shift, roughly 20 minutes each time, and I’ll need a private space and somewhere cold to store what I’ve expressed. Can we agree on that before I’m back?” Read more on the practical side of this conversation in My-wren’s guide to UK workplace rules.
Pro Tip: If a fridge isn’t available or you don’t trust the one that is, ask permission to bring your own portable chiller instead. It’s a simple compromise that sidesteps most fridge-sharing friction entirely.
If facilities genuinely don’t exist, flag it early rather than making do. A toilet is never an acceptable substitute, on hygiene grounds alone.
How do you prepare before returning to work?
Start practising a couple of weeks before your return, not the night before. Two to three sessions across those two weeks gives you a realistic sense of how long expressing actually takes and how your supply responds to a pump instead of a feed.
- Practise pumping sessions at the times you’ll actually need to express at work.
- Begin your freezer stash two to three weeks ahead, freezing in small 30 to 60ml portions so nothing goes to waste later.
- Aim for a buffer stash covering two to three days of feeds for the first week of childcare, not a full month.
- Match your pumping schedule to your baby’s usual feed times as closely as you can.
- Expect some variation in supply. It’s normal, and it settles once your routine beds in.
My-wren’s guide to building a freezer stash walks through portion sizing and timing in more detail if you want a fuller plan before your first week back.
Keeping pump parts clean between sessions
You don’t need to fully wash every part after every single use, but you do need a clear routine so nothing sits dirty for hours in a warm office.
- Rinse parts in cold water immediately after pumping to stop milk residue drying on.
- Wash with hot soapy water, or run through a dishwasher, at least once during the working day.
- Store rinsed parts in a sealed, labelled bag or container until you can wash them properly.
- If you can’t wash parts straight away, refrigerating them buys a few hours; don’t leave them unwashed and unrefrigerated for a full shift.
- Check seals and valves for residue build-up weekly, since these are the parts most likely to harbour bacteria if missed.
My-wren’s pumping-at-work guide covers a fuller cleaning checklist if your workplace has limited sink access.
How do you defrost and warm milk safely?
Thaw frozen milk in the fridge overnight, or stand the sealed container in a bowl of warm water if you need it sooner. Skip the microwave entirely. It heats unevenly and can create hot spots that scald a baby’s mouth, a point Mayo Clinic makes specifically.
- Thaw overnight in the fridge for the gentlest method, or use a warm water bath for same-day need.
- Use thawed milk within 24 hours if kept refrigerated, and never refreeze it once thawed.
- To combine batches, cool freshly expressed milk in the fridge first, then add it to already-chilled or frozen milk of the same or older date.
- Discard milk that smells sour, looks separated beyond a normal fatty layer, or has been left out for longer than the safe window.
Roughly 8 days is the maximum refrigerated storage window under NHS guidance, and that’s a ceiling, not a target. Using milk sooner, within two to three days where you can, keeps quality higher and reduces the guesswork around what’s safe to serve.
My-wren’s take on making storage simple
Storing milk safely doesn’t need to be complicated once the basics are in place: cold storage, decent packaging, and a stash built before you need it. My-wren’s blog covers this in more depth across guides on milk storage safety and returning-to-work tips, both worth a read before your first week back.
- Storage bags built with reinforced seals reduce the splitting risk that loose bags carry in a packed cooler bag.
- A compact case for pump parts, like the Nipple Bubble, keeps everything contained between sessions without needing extra pouches or wet bags.
- Consistent labelling and portioning habits, once set up, take the daily decision-making out of the routine entirely.
The goal isn’t a perfect system on day one. It’s a routine that survives a bad commute, a broken fridge thermometer, or a meeting that overruns.
What the research actually tells returning mothers
The conventional advice on this topic tends to fixate on time limits and forgets the logistics that actually break down in practice: a fridge nobody labelled, a bag that split on the Tube, a chiller nobody thought to charge. The NHS and WORKFEED figures are solid and worth memorising, but they solve the easy half of the problem.
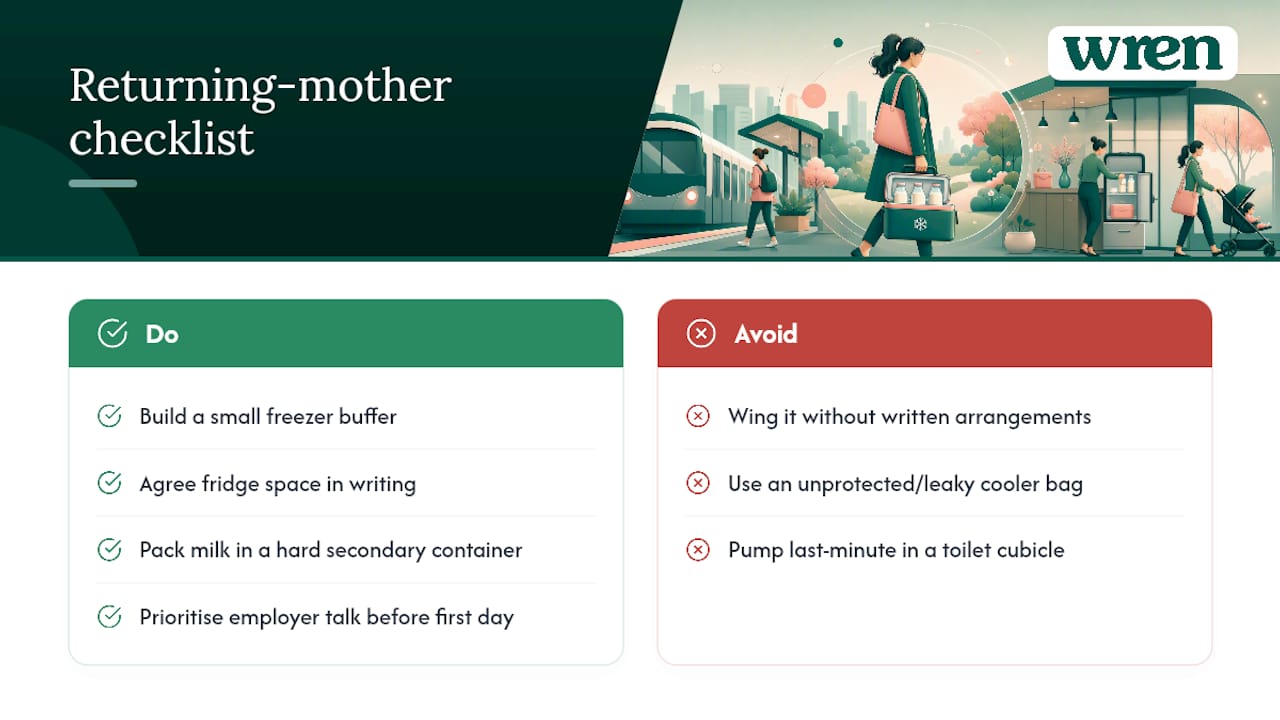
The harder half is behavioural. Mothers who build a small freezer buffer before returning, agree fridge space with their employer in writing rather than verbally, and pack milk in a hard secondary container rarely run into the scenarios that make expressing at work feel precarious. Those who wing it tend to hit the same three problems: an unreliable fridge, a bag that leaks, and a pumping session squeezed into a toilet cubicle because nobody asked in advance.
Prioritise the conversation with your employer before your first day back, not after. Everything else, the cooler bag, the storage bags, the labelling habit, is easy to fix once that groundwork is in place.
— Paul
How Wren’s storage solutions fit your workday
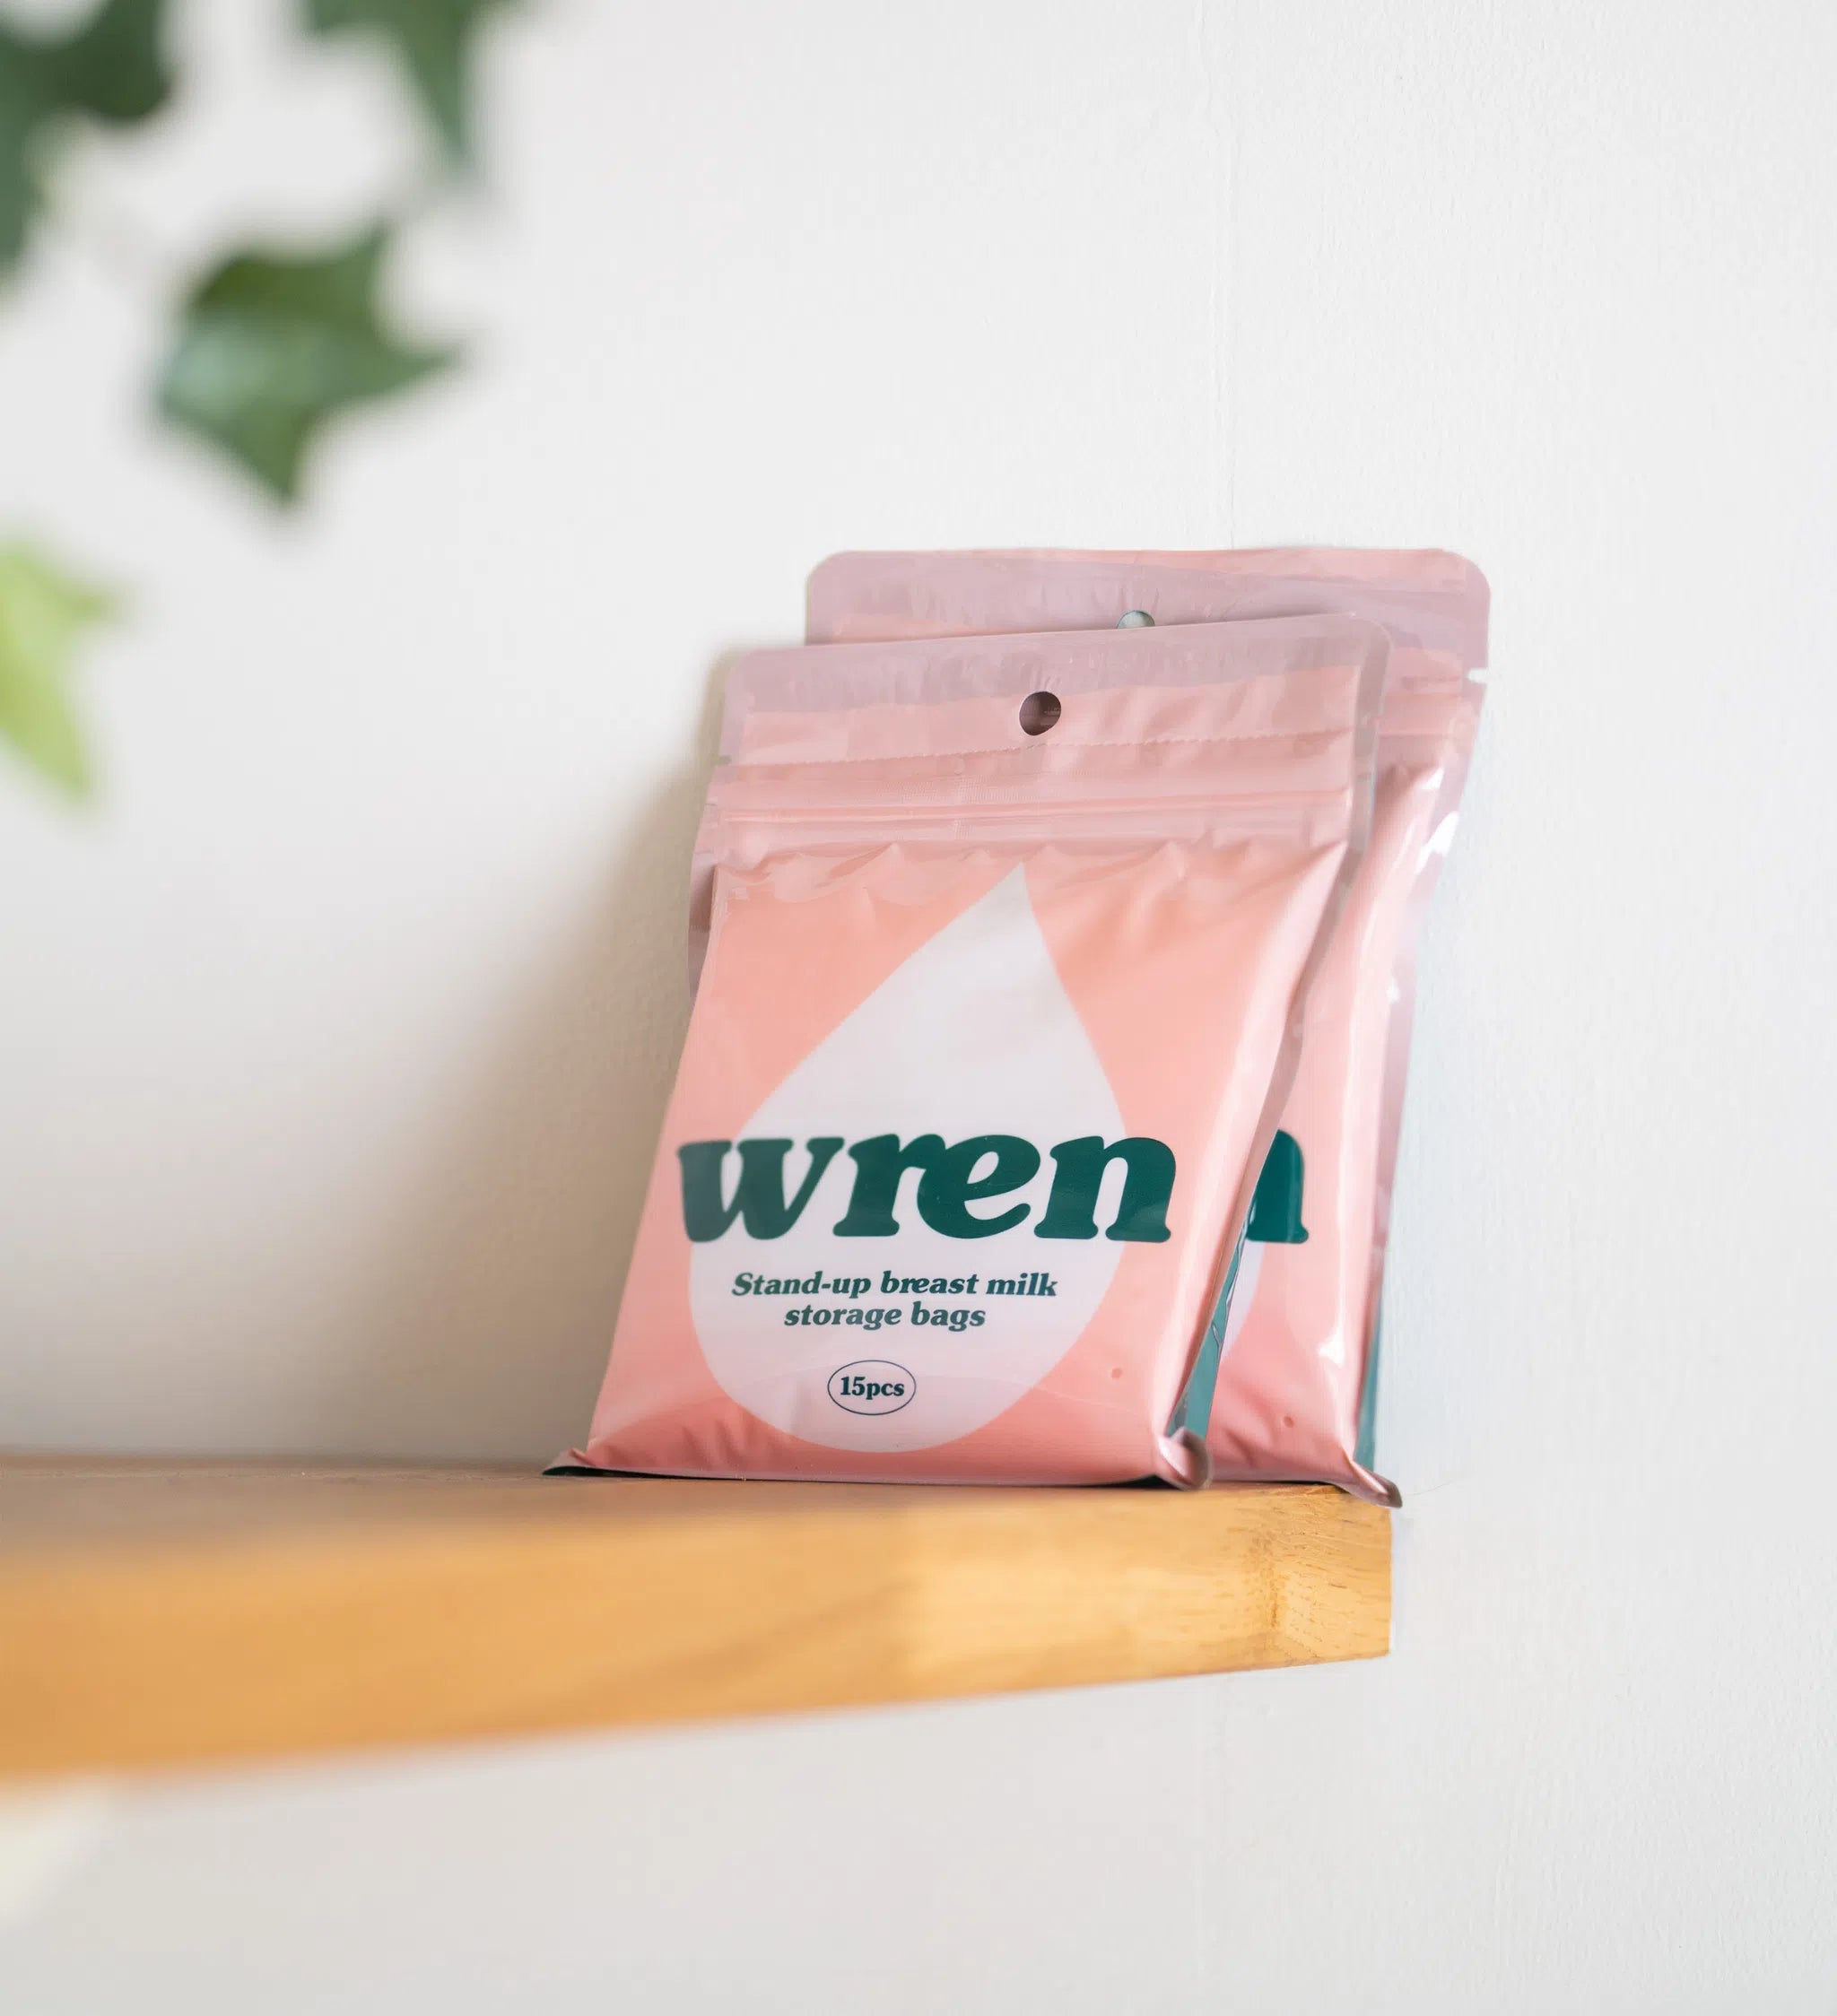
Certain storage ranges are designed to be cold, contained, and ready to move with you. The Breast Milk Storage Bags are designed with reinforced seams to cut the spill risk that loose bags carry in a packed cooler, and they’re sized to match the 60 to 120ml portions Mayo Clinic recommends for a working day’s feeds.
For pump parts between sessions, the Nipple Bubble with its storage case and bag keeps everything sealed and contained without needing a separate pouch dug out from the bottom of your bag. Check sizing and pack options on the product pages, and if you’re still working out your wider return-to-work self-care plan, this postpartum self-care checklist is a useful companion read.
Sources
- Expressing and storing breast milk | NHS
- Mother Guide 07: Expressing / Breastfeeding at Work Considerations - WORKFEED
- Breast Milk Storage Questions and Answers | CDC
- Breast milk storage: Do’s and don’ts - Mayo Clinic


